Category: DIY

Top 5 DIY Pest Control Tips

diy pest control

Spring is around the corner, which means the battle of the bugs will soon ensue. Not sure what weapons you need in your arsenal? Don’t worry — a little DIY pest control knowledge will prepare you for battle in no time.

Pests can be a nuisance for your home and family. Fortunately, you don’t always have to call a professional for help. Here’s a rundown of the top five DIY pest control tips to help you to get ready for the spring.

Let’s jump in!

1. DIY Pest Control for Ants

These little insects can be kept at bay in a couple of simple ways.

First, we know you love your cup of joe. But if you can spare some coffee grounds, sprinkle them on your doors and windows to keep ants from invading your home.

Another option? Mix a cup of borax with a cup of sugar water. Then, pour this mixture into tiny jars, and poke some holes in the lids.

The sweet smell will lure ants in and encourage them to feast. They’ll then take their newfound meal back to their nest. You’ll start seeing the ant population grow smaller and smaller in no time.

2. Fruit Flies

These annoying little flies can’t resist a sweet smell, either, just like ants.

To get rid of them, simply fill a glass with two inches of apple cider vinegar. Then, add a couple of drops of dishwashing detergent. And voila!

You have the perfect trap for eradicating fruit flies from your kitchen.

3. Spiders

Like fruit flies, spiders are no match for vinegar.

To get rid of them, simply mix equal parts water and vinegar in a spray bottle. Then, coat common spider entrances, such as openings or cracks, with this acidic mixture.

Although this DIY concoction is certainly safe for you and your family members, it will effectively repel spiders.

4. Termites

This provider of pest control Port St. Lucie, points out that termites cause $5 billion worth of damage to homeowners in the United States each year. Ouch.

Fortunately, you can take some steps to keep your home from falling victim to termites.

These include having leaky faucets repaired and keeping your downpipes and gutters clean. Also, avoid having too many plants inside your home.

With termites, the best method for controlling these insects is prevention.

5. Cockroaches

If you like beer, you’re about to learn something that will make you love this fizzy beverage even more.

Cockroaches are another major offender when it comes to breaking into homes across the United States. But you can repel them with an old-fashioned can of brewski.

Just pour half of a cup of beer onto a saucer, and place the saucer on the floor near a cockroach entry point.

A sneaky cockroach may end up partying all night with your complimentary beer, and it’ll be good and drunk by the morning. That’s perfect for you, as it’ll have a hard time scurrying away when you’re ready to remove it. #partytimeisover

How We Can Help

I offer a wide range of tips and even coupons to help you to save money and live a more fulfilling life with your family.

Contact me to learn more about how the information and deals I offer can add value to your life this year.

10 Tips for Interior Design on a Budget

It may come as a shock, but some people pay up to $150 an hour for an interior designer. For families on a budget, that figure is out of the question.

Fortunately, the DIY approach to home improvement has caught on in recent years. People are now deciding to tackle jobs on their own instead of paying inflated prices for professional services.

The great thing about taking on design projects yourself is that you maintain total control. You’re able to express your creative side and transform your space exactly the way you like.

However, trying to pull off interior design on a budget can get out of control if you don’t have some techniques in mind. You may need to do a little homework first.

To help you out, we’re going over 10 tips for giving your home a makeover on the cheap.

1. Have a Game Plan

Lack of preparation is an easy and fast way to go over your budget. Before making any purchases, you need to figure out exactly what you’re going for.

You probably have an idea of what aesthetic you want, but it helps to pinpoint it. Look at interior design websites and magazines to fine-tune your vision. You can then start pricing items and materials you’ll need for the job.

It may help to break down your projects one at a time instead of trying to do everything at once. Working in phases helps keep your finances manageable and allows you to save up a little between each project.

2. Second-Hand Stores

Doing interior design on a budget means you’ll need to avoid high-end brands. The best way to do this and also get unique, stylish furniture and accessories is to visit second-hand stores.

Look at local thrift stores, antique shops and even estate sales for low-cost, used items. Just because it’s used doesn’t mean it’s low quality.

Keep an eye out for furniture with sturdy construction. Remember, you can reupholster an old chair or couch and turn it into a great looking piece.

A good tactic is to find a second-hand store you like and ask when they usually get new items in.

3. Paint is Your Friend

Painting is one of the most cost-effective ways to give a room a completely new feel. After you decide what furniture or accessories you’re adding to a room, choose a complementary color for the walls.

Take your time and go over some color palettes. Narrow your options down two or three of your favorite colors and get samples from your local home improvement store. Then, paint a small area with each color.

Paint color changes as it dries, so give it few days before choosing a winner.

4. Go Minimal

The minimalist aesthetic has been in style for some time, and it doesn’t show any signs of letting up. This is perfect when performing interior design on a budget.

Going minimal means cutting back on accessories and creating an open, clean environment. It also means focusing on neutral colors and natural fabrics and materials.

Instead of many pieces of furniture in a room, choose only a few items to decorate a space and accentuate them with good lighting.

5. Get Creative with Your Decor

Decor refers to items used to add style instead of serving a specific function. This is an area where you can really express your creative side.

If you like taking pictures, try framing your own photography. Or, a custom painting by you or a local artist is a great addition to a room.

Look for used rugs at second-hand stores to add a classic feel to your living area or study. You can also find interesting items like globes or vintage bottles to adorn shelves and end tables.

6. Keep Your Eyes Open for Sales

You can’t pull off interior design on a budget if you’re not constantly looking out for sales. After you find your favorites showrooms, ask when their next sale is. You may have to wait a little longer, but you’ll save money in the long-run.

You should also look for discontinued models of specific furniture. These can sometimes go for as much as half off.

Antique reproductions look authentic and go for much less. English Georgian American has a great selection, so check it out!

7. Buy Naked Furniture

A great way to save on furniture is buying pieces that haven’t been stained or varnished. Then, finish them yourself and get the exact look you’re going for.

When doing this, you’ll want to make sure and know what type of wood you’re dealing with. Certain woods take stains better than others, so ask the seller before buying.

You’ll also want to educate yourself on the finishing process. This means sanding and applying a stain or paint evenly. Do a little research and become an expert yourself.

8. Treat Your Windows

Another great design element that totally changes the look and feel of a room is window treatments. And there are actually inexpensive yet high-quality options.

Try to avoid buying curtains from an interior design store. Instead, look at fabric stores and choose quality materials, then have them cut. This saves you money and doesn’t look like you skimped on something cheap.

9. Transform What You Already Have

The best approach to interior design on a budget is making good use of what’s already there. This is where you really have to think outside the box.

An old chair that looks like it’s heading for the trash may just need a new finish. Slipcovers give new life to a worn out couch. Apply your cross-stitch talents to your drab throw pillows.

10. Mix it Up

Buying complete matching furniture sets is expensive. Instead, mix up your approach and create a compelling aesthetic using different styles. This gives your space an eclectic look and doesn’t break the bank.

You can also perform DIY updates like reupholstering chairs and applying paint to create a more uniform style with preexisting furniture.

Interior Design on a Budget: Wrapping Up

When making interior design renovations yourself, your biggest asset is your imagination. Don’t think of a strict budget as a limitation. Think of it as a way to get innovative.

Remember, always start with a plan. Then, pick and choose which of these interior design tips work best for your home.

If you’re renovating your home and are looking for more great DIY ideas, check out our blog today.

10 Affordable Remodeling Ideas for Your Home

affordable remodelingNothing makes your house a home like some great decorating skills.

But, it can be hard to take on a remodeling project with a low bank account. You might be wondering whether it’s worth waiting to save more instead of adding a little beauty now.

Thankfully, affordable remodeling projects mean you don’t have to choose!

There are many simple, budget-friendly ways to take your home decor from okay to outstanding.

Here are ten ideas to pick from.

1. Add a Touch of Color

Affordable remodeling can be as simple as a can of paint.

Pick a room in the house to touch-up with a fresh color.

This might mean painting one wall of your living room to add some interesting contrast. Or, it could be taking on the entire master bedroom with a comforting, soft color.

Whatever you decide, skip hiring professional painters.

You can take on most painting jobs yourself with the help of a few extra hands. Get your family in on the project, or invite some friends over and get to work.

2. Reflect Your Style with Mirrors

Sometimes, a paint job helps make a room seem bigger and more inviting.

Another great trick is to buy and mount a big mirror. Mirrors aren’t just for checking your outfit as you walk out the door.

Their reflections suggest a room is bigger than it actually is. If you’re into hosting gatherings, or you’re not sure what to do about a tight space, don’t underestimate the power of this simple project.

3. Use Your Head(board)

Another easy and affordable remodeling idea is to get a new headboard.

No, we don’t mean shopping for something on sale. Instead, try making your own!

Headboards add a touch of character to any bedroom. You can make one to match the comfy, rustic vibes you have going on, or to treat your child to a mini bedroom makeover.

All you need are a few pieces of wood, screws and tools, and the time to bring your project to life. Maybe pick up a few extra items to create a stained wood look or fabric to make an upholstered headboard.

4. Make Your Own Pillow Covers

If you do decide to pick up some fabric for your headboard, grab a little extra to make matching pillows.

Fresh pillows change the atmosphere of a bedroom as well as a living room. They can be bold with bright colors and funky designs, or classic and elegant.

Such an affordable remodeling trick is the perfect way to have a small, yet significant, change in your decor.

5. Focus on the Small Details

There are many other ways to use small details around your home. Let’s take a look at the simple changes you can do in a few different rooms.

Bathrooms

This is probably the cheapest affordable design trick out there – a fresh set of matching towels and a carpet.

These look way more put together than using whatever is clean in the guest bathroom. You can find fairly-priced options at your local department store or shop online for even more cheap deals.

Not to mention, there’s a wide range of special linens for the holidays or just for the changing of the seasons.

Kitchen

The kitchen is another room that could use some fresh linens. Consider picking up some new placemats or hand towels to keep out.

Also, try mounting some hooks to hang your pots or get a magnet slab to reorganize where you keep your knives.

Garage

Hooks and shelves go great in the garage, too.

Affordable remodeling and a little bit of clean-up go hand in hand. Try changing how you store things in your garage to create more space and less clutter.

Who knows, this may be the first step in creating a workout space or a man cave further down the line when you have access to more funds.

6. Create More Shelf Space

Although shelves are an easy way to organize your garage, they can spice up pretty much any room in the house.

Use them in your living room to mount photos, candles, and other decorative items. Add a shelf above your toilet for common bathroom items. Or, put a shelf in your entryway as a designated place to drop your things.

Making shelves can be as simple as a few board pegs and some screws.

It can also be a fun way to let your creative juices out.

This affordable remodeling idea ranges from a few mounted slabs to leaning shelves to shelves made out of upcycled everyday items.

7. Hang More Frames

As you’re thinking about which walls to place your shelves, consider using frames, too.

Frames aren’t just for photos. You can let your inner artist out and paint decorative designs inside this space. Or, insert special quotes and sayings within them.

Consider leaving a few frames empty, and staggering groups of frames together for even more eye-catching designs.

8. Light up a Room

Just when you think you’ve tried all the affordable remodeling tricks in the book, don’t forget to look at your lighting.

Buying a new lamp or playing with curtains and smart blinds can do wonders to a room’s overall aesthetic. Light makes a room dim and cozy or bright and welcoming, whether it be artificial or natural light.

Such tricks help you focus while you work in your home office or enjoy a quiet dinner in a softer setting.

9. Buy Some Plants

Light isn’t the only affordable remodeling tool you can use in any room. Plants also go pretty much anywhere in the house.

A few succulents on your bathroom windowsill or a fresh bouquet in your living room really bring life to a room. Plus, many inside plants are fairly easy to manage.

You can also take this interest outside to start a home garden and do a bit of landscaping.

10. Get Crown Molding

There’s nothing like kicking your feet up to enjoy the room you’ve just remodeled.

Unless you finally notice your ceiling and realize it might need a bit of work. Not to worry, just get some crown molding to make it look much better.

Crown molding is used to line the intersection between the top of a wall and your ceiling. It’s a timeless touch of sophistication.

You can also use this trick along the half-way or mid-way point of some walls.

Some even help homeowners hide rewiring projects.

Although, this is not something you should take on without a professional. There are a few other renovation mistakes to avoid, and Holland Homes has the top ones to watch out for.

Affordable Remodeling and More Budget-Friendly Tips

Affordable remodeling can help you settle into your new home or make your current house more presentable to sell.

If you’re in the process of moving, though, there’s a more important budget to consider. On top of remodeling, you might have to hire movers, buy or get rid of certain items, and more.

Check out why it’s important to have a budget during this process.
Sewing Clothes for Beginners: How To Make Your Own Simple Dress

Did you know there is much debate over who created the first sewing machine?

America saw its first sewing machine-like device in 1818. But it wasn’t until 1844 when Elias Howe introduced his version that America finally recognized the full extent of what a sewing machine can do.

And so today, the sewing machine offers you the wonderful option of making your own clothes.

Let’s take a look at how you can make your own simple dress with sewing clothes for beginners.

What You’ll Need

Before you begin, gather the following items:

  • A dress design in mind
  • A dress form
  • Fabric scissors
  • A sewing machine
  • Needles and pins
  • Thread
  • Fashion wholesale fabric
  • Bias tape
  • Hooks and eyes
  • Paper and pencil
  • Cheap fabric for pattern practice
  • A zipper
  • An iron
  • A ruler

How To Begin

Sewing can be fun and endlessly creative. Some people even make a living from sewing out of their homes. And it can be a very rewarding experience.

You’ll want to sketch the dress you want to create. Include details such as:

  • Sleeved or sleeveless
  • V-neck or squared or rounded
  • Where the zipper goes

Taping and Pinning

Take your bias tape and begin pinning it to your dress form. Then pin a large piece of cheap fabric to your form. Ensure it’s placed on grain.

Pin the center front first, down the middle of the cloth. Then pull the fabric until it lands smoothly over the form.

The Front

You’ll only need to focus on one side. Because it can be mimicked on the other side easily.

Pin the fabric where you’d like the arm hole to be. And then pinch out the fullness of the fabric.

Cutting

Cut the fabric, leaving 2 to 3 inches around the arm and neck holes.

How To Finish

Once you have the front pinned and smoothed, you’ll move to the back. And you’ll do the same thing on the back as you did on the front.

The Sleeves

Cut 2 large semi-circles out of the cheap fabric and pin them to the shoulders. This will act as the draft for your sleeves.

Connecting the Dots or Pins

Transfer the lines of the tape to your fabric with a pencil. This is when you connect the pins on your fabric with the pencil.

Unpin the fabric pattern pieces. Fold the front pattern piece on the center front line. And transfer the markings.

Trim the draft pattern pieces to a 1-inch seam or more.

Putting It All Together

Now, you’re ready to baste it all together and try it on for size.

Once you become a pro, you can even create your own do-it-yourself blogs. Have fun with it.

Fabrics to Avoid When Sewing Clothes For Beginners

There are certain fabrics you should not use if you’re sewing clothes for the first time. These include:

  • Denim
  • Silks and satins
  • Stretchy knit fabrics
  • Chiffon or sheer

Sewing Clothes For Beginners

Sewing your own clothes can be fulfilling and frugal. And even if you make mistakes, it can still be super fun.

These are our steps on sewing clothes for beginners. What else would you add? Comment below!

How to Build Your Own Garage Door

So you’re the queen (or king) of DIY, but so far your projects have been limited to things in the garden or the kitchen. You’re not shy about using power tools, and you know your way around a workshop.

But have you ever thought about what it would take to build your own garage door?

Surprisingly, it’s not too big of a project to tackle! Armed with the right tools and a little DIY know-how, you too can manage to build your own garage door.

From selecting the right doors to stepping back to observe the finished product, there are a few important steps to building your own garage door. We’ll walk you through the project from start to finish with our guide. Read on.

How to Build Your Own Garage Door From the Ground Up

Of course, if you want to build your own garage door from scratch, there are ways to do that.

This process involves cutting wood, gluing it together, and quite a bit more time and effort. You’ll need access to an electric saw, plywood, and other heavy-duty materials.

If this sounds great and you are looking to build your garage doors from raw materials, you will need some in-depth construction knowledge. Most people do not have access to the tools and knowledge needed for this sort of construction.

Instead, the recommended way to build your own garage doors is to choose from doors that are pre-built and then do the installation yourself.

Then, you will end up with stylish and beautiful doors but still pay a fraction of the cost since you are opting to build them.

Choose What Type of Door You Want

If you choose to go the recommended route, the first step is a fun one. You must select the size, style, and color of door for your home.

There are many different garage door styles. The style you choose should reflect the overall look you are going for in your home.

You’ll also need to know the height, width, and depth of your current garage doors. If you do not have any yet, ask your builder what will fit in the space.

The four main styles of garage doors are carriage house panels, flush panels, long-raised panels, and short-raised panels. Each of these has a totally different character.

To get a feel for what will work for your home, you should look at plenty of pictures of each kind. Do this to figure out what style you prefer and what will make the best impression visually.

For example, short-raised panels look great on Victorian-style homes and colonial-inspired homes. Carriage house panels, on the other hand, lend more of a charming country vibe.

Depending on the design style you’re following for both the exterior and interior of your home, you should choose doors that go along with it.

You should also get a feel for the price range of each option so that you know what will fit in your budget.

Make Your Purchases and Get to Building

After you’ve decided on the style of doors, the next step to build your own garage door set is to make your purchases. Typically you can buy garage doors at home improvement stores or through a catalog.

Once you’ve ordered your doors and they have arrived, the real fun starts. Now, it’s time to get to building.

Installing garage doors yourself can save you quite a bit of money. You might first have to remove the old garage door, though. This is relatively simple and basically just involves unscrewing what needs to be unscrewed.

How to Install Your New Garage Doors

Once you’ve removed the old doors, you’re ready to put the new ones in place. First, you’ll need to do some measurements and attach the hinges and handles.

Measurements Are Key

You’ll need to measure the various points where the door will be installed, like the door-opening height and width. You’ll also want to measure from the top of the opening to the ceiling.

Then, with these measurements, you’ll need to attach stops to both sides of the opening. They must be flush with the inside of the door jamb.

Put the Pieces in Place

Then, you lay out the bottom piece of the new door and attach any hinges or handles that are meant to go with this piece.

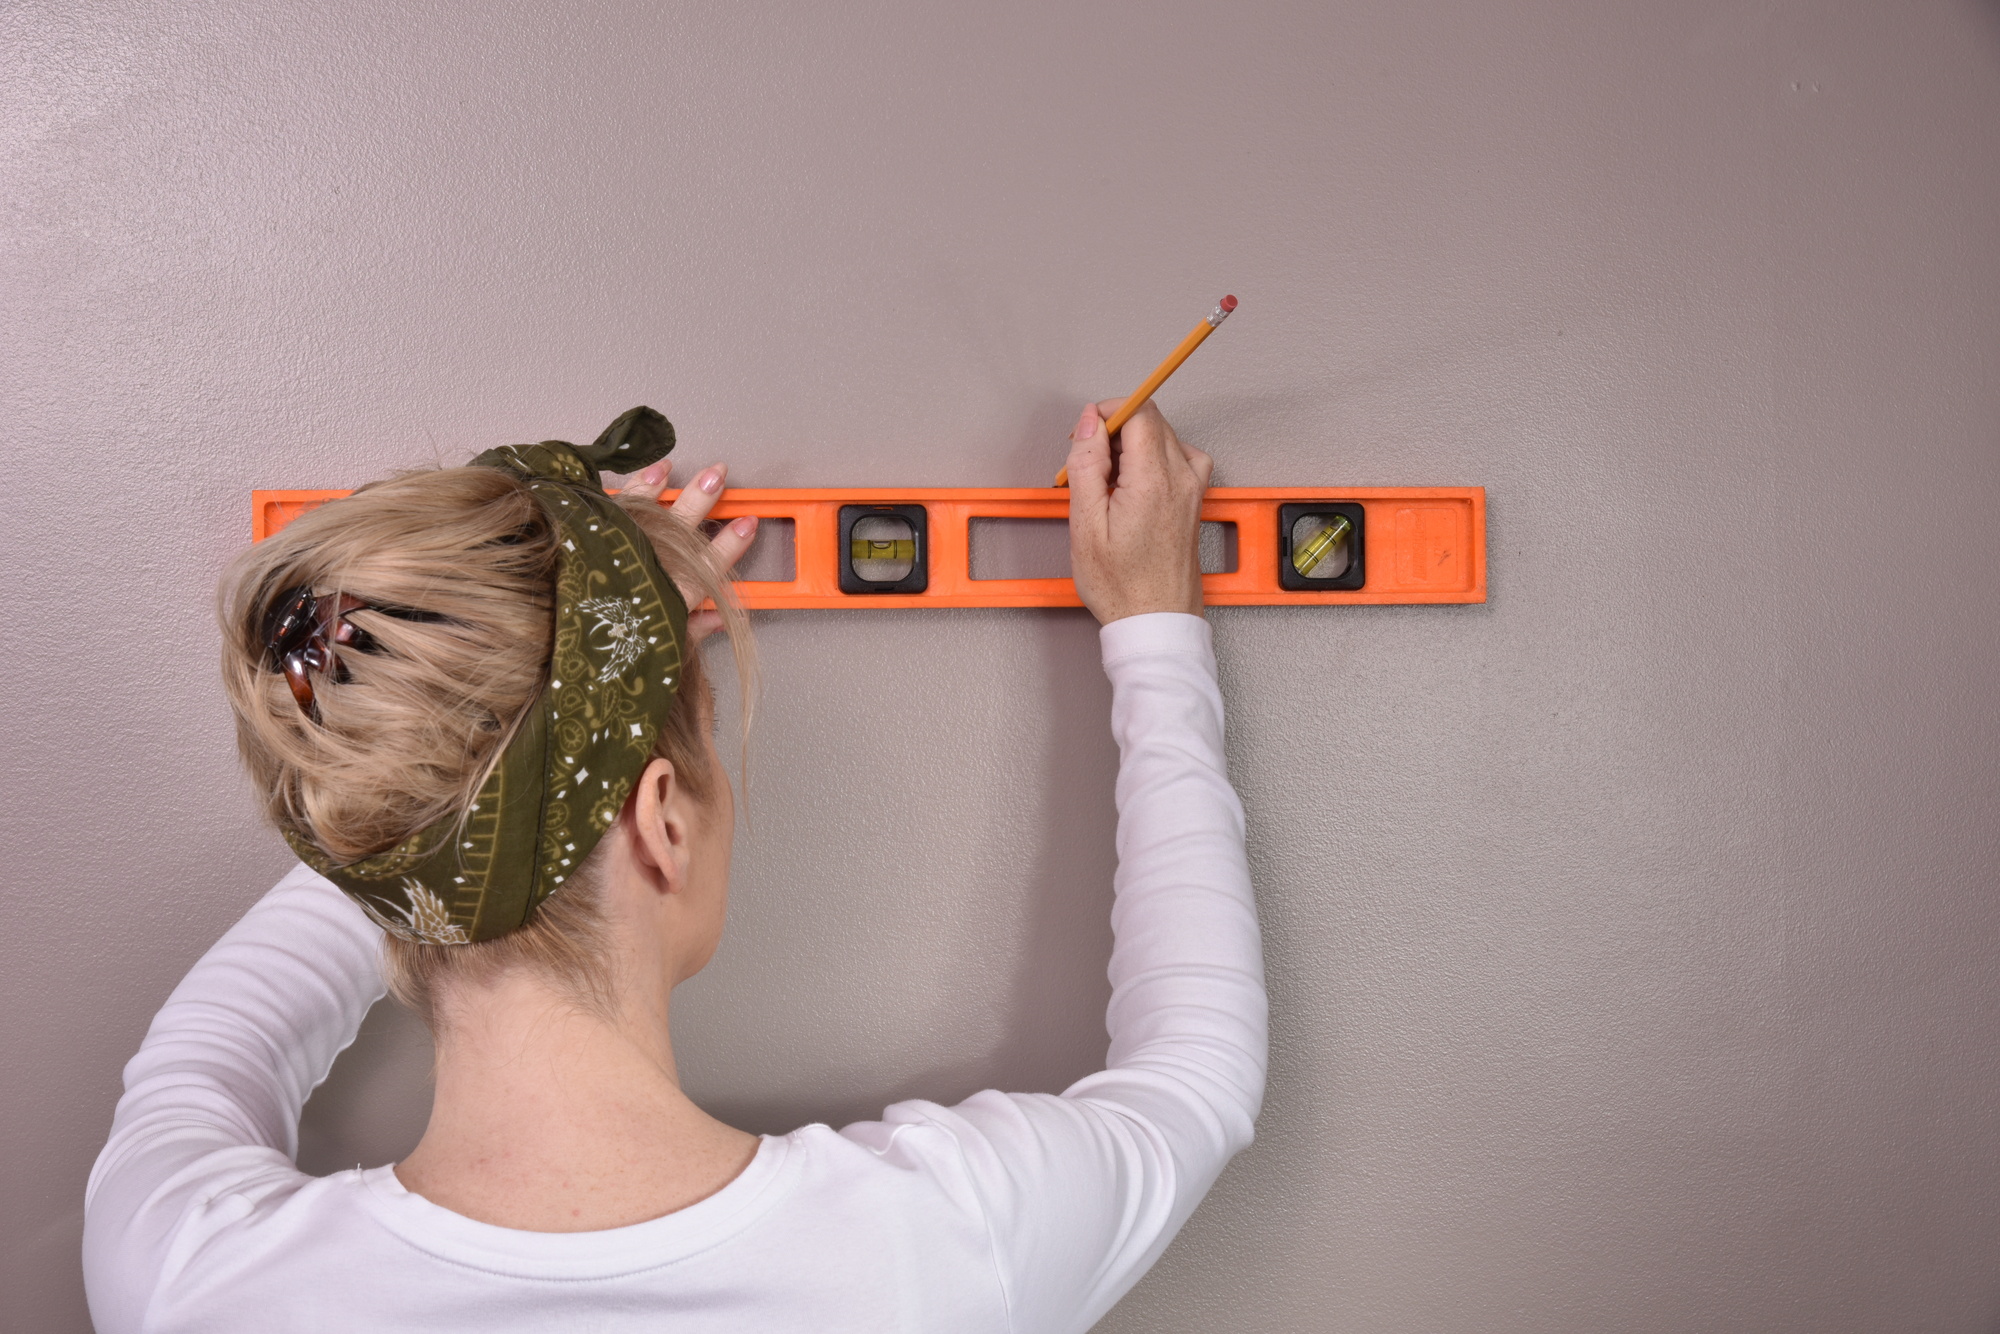
You should use a level to make sure the bottom piece is perfectly placed. Otherwise, the rest of your door will not fit properly. Refer to the manufacturer’s instructions at this point to ensure that all is going according to plan.

Next, the process looks almost like fitting puzzle pieces into place. Following the perfectly placed bottom piece, you’ll stack the next pieces on top of that and install them one by one.

Ta-Da!

You simply repeat this process for each panel until your entire door is built. After you’ve installed the rollers and secured the tracks, your job here is done!

Does all of this sound a little overwhelming? It might be tricky, but it’s worth a try.

What’s the worst that can happen? At the end of the day, if everything goes wrong, you can always call for garage door repair Arlington TX.

Looking for More DIY Tips and Tricks?

If you are on the hunt for more DIY projects, check out our posts. They contain all you need to know to take many kinds of household projects into your own hands.

Want more? We are here to help you find ways to live frugally, find great deals, tackle DIY projects, and more.

In short, we help you squeeze the most out of life. If you have questions, please leave them in the comments section below! We’d love to hear from you!

How to Clean Blinds the Right Way

Have you cleaned your blinds lately? If you’re like most Americans, clean blinds are fairly low on your list of recent accomplishments.

This poses several problems. Not only is it a disgusting secret waiting to be discovered–it’s affecting the health of your family, and even your brain.

Clean Blinds In Five Easy Steps

You can change your cleaning habits for the better, starting right now. You’ll be surprised at the ‘clean feeling’ and peace of mind clean blinds bring back to all of the naturally lit areas of the house.

Fortunately for us, we can achieve clean blinds in only five steps. Let’s take a look.

Identify Your Blinds

Do you remember where you got your blinds? The principles of cleaning blinds are similar from one brand to another, but styles and materials–from bay window shutters to honeycomb blinds–can influence the ways you clean them.

We recommend visiting Shuttercraft for lots of details on shutters and blinds, and even some opportunities to shop for new ones.

Assemble Your Equipment

There are dozens of ways to clean blinds, but most two things in common–suction and cloth. Martha Stewart recommends vacuuming with a dust-brush tool for tis gentle touch and dusting with microfiber cloth, both of which prevent scratching on sensitive surfaces.

If you’re not into chemicals, take a look at some DIY household cleaning hacks that get the job done. You might save some money, too.

Equipment matters, but your effort is the key to your success.

Clean With Safety

Though you may have a lot of blinds in your house, achieving clean blinds is fairly easy on a step-by-step basis:

Vacuum your blinds. Use the dust-brush tool as many blinds will easily dent or scratch.

Wipe your blinds. Use the cloth dry; or, make one cloth moist for spot cleaning, then wipe away moister with a dry one

Bathe your blinds. You need only bathe your blinds annually, but you can contact me for some helpful advice.

Touch Up The Extra Bits

Blinds have ropes, cords, and crevices that collect dust and dander. They often get neglected, even after a cleaning. You can use your existing tools to clean these areas, or employee smaller tools like cotton swabs and even polishes to touch up discolored areas.

Beware: special materials may require special cleaning materials to prevent damaging. Get online and see the manufacturer’s website or consult the owner’s manual to ensure you don’t ruin their physique.

Plan For The Future

You’ve just learned how simple a process getting clean blinds can be, so why not make it a regular thing? It may sound corny, but we recommend setting long-term reminders using your mobile phone or other devices to clean your blinds every three-to-six months, as recommended by TODAY.

Since clean blinds don’t require a lot of equipment, you can store your gear for the long-term and be ready in a moment’s notice. You just solved a recurring problem with minimal effort required–good job!

Clean Blinds And More

For more details on clean blinds, life hacks or saving money on everything, contact me–I’ll be glad to help.

One Tool Can Transform You Into DIY Diva and Save Money

Are you a ham-handed handyman around your home or business? The repairs are piling up, and you don’t want to spend another dollar on a repairman?

One tool can transform you into a DIY Diva and save you money.

The answer may surprise you! Read below to unlock the secret to becoming a DIY Diva.

10 Ways an air compressor can make you into a DIY Diva

I know what you’re thinking. An air compressor? Seriously? What am I supposed to do with one of those?

Here are ten things you can do with an air compressor that will not only save you time but save you money too. Keep reading for some creative uses for your air compressor around the yard, and in the garage and house.

#1 – Idiot-Proof Inflating

It’s Memorial Day weekend, you just opened the pool, and the kids want to go swimming. The bad news: all of the rafts and pool toys are still deflated in the garage.

Instead of spending hours blowing up that inflatable unicorn, use an air compressor. And while you’re at it, you can use your compressor to inflate footballs, basketballs, and kickballs, or get the family bike tires filled in a jiffy.

#2 – Wall Painting Parties

If you’re turning your guest room into a nursery or finally changing the color of the accent wall in your living room, an air compressor can also help with your larger painting projects.

Skip the roller and brush and hook up your air compressor to a paint gun to finish your project in no time. Just remember to move furniture out of the room and be very careful when taping off trim or other sections of the wall that you don’t want to be painted.

#3 – Quick Clean Up

Sometimes you want to clean something up but don’t want to use water. Whether you’ve been out in the yard weed whacking or sawing up a storm in the garage, using the air compressor can make quick work of your clean up.

By attaching your air compressor to an air blow gun (and put on some safety goggles), you can quickly and easily get rid of all of your mess. It’s also a great way to clean reusable filters for your furnace or your car.

Just remember to turn down the pressure on your compressor to 30 PSI or so before use.

#4 – Dream of a White Christmas

If you’re dreaming of a white Christmas, but live in Southern California, an air compressor can help make your dreams come true.

As a true DIY Diva, you can use your air compressor to build your very own snow machine using just a few pipes and valves and your compressor. You’ll be the best-decorated house on the block this holiday season!

#5 – Giddy Up the Grill

You’ve invited the neighbors over for a barbeque but were so busy chatting; you’ve forgotten to light the charcoal grill.

Not a problem. Instead of dumping light fluid on your grill, crank the heat in a hurry by using your air compressor to stoke the flames. You’ll get the grill up to temp in no time and ready to impress everyone with these delicious Hawaiian chicken kebobs!

#6 – Take that Nail Gun up a Notch

Nothing makes a home improvement project easier than a nail gun. Instead of buying a battery-operated nail gun for over $200, purchase a pneumatic nailer that’s used with an air compressor instead.

Not only are the pneumatic nail guns cheaper, but they’re also lighter and easier to maneuver. The air pressure also lasts much longer than a battery charge.

If you’ve bought a nail gun but looking for some home improvement inspiration, check out our blog on five amazing home improvement blog ideas.

#7 – Awesome Auto Repairs

Tired of paying your mechanic? If you’re up for the challenge of repairing your car, an air compressor is a must-have.

Sometimes trying to loosen a rusty or hard to reach bolt with a regular ratchet and socket set can take hours. Whether you’re changing the fuel filter or performing an overall tune-up, attaching an air compressor to an air ratchet tool will save you hours and makes auto repair a breeze.

#8 – Power Up Your Pressure Washer

An air compressor is a great way to power up your pressure washer and can help you winter-proof your home this year.

Use your air compressor and pressure washer to clean off your gas grill and outdoor furniture before your store it for the winter. It can also be used to clean patios, decks, driveways, exterior siding or brick.

Save some money at the car wash by using your powered-up pressure washer to clean your car. Just make sure to lower the pressure and use a special solution formulated to wash cars.

#9 – Staple Gun

Is it time to reupholster your favorite old living room chairs? Like the pneumatic nail gun, a pneumatic staple gun makes attaching some beautiful new fabric a quick and easy task.

The air pressure will do all the work for you, driving the staples down into the wooden furniture frame. It’s also a safer alternative than a manual staple gun. There’s less chance you’ll accidentally staple your hand as you apply pressure to a backward manual staple gun.

#10 – Fine Painting Finesse

If you’re rehabbing a kitchen hutch you just bought at a flea market or painting flames or thunderbolts on your riding mower; an air compressor is a tool for you!

Attach it to a spray gun, and you’ll fly through your painting in no time! Not only with the air compressor cut down on time, but a paint sprayer powered by a compressor will also give the smooth results that you’re looking for.

Keep in mind, compressors for detailed painting tend to be smaller than your standard compressor that attaches to pneumatic tools.

An air compressor is the quickest and easiest way to transform yourself into a DIY Diva. If you’re looking for a great deal on an air compressor, visit aircompressorsusa to pick one up today!