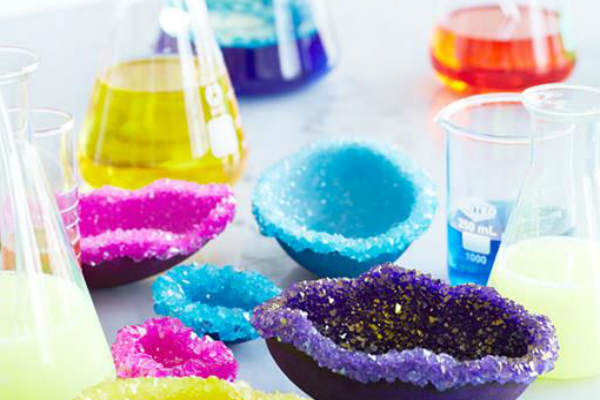
Crystal Geode Eggs Craft! Have A Family Science Night!
March 24, 2016
Crafts, DIY, Easter, Family Life, Holidays

Crystal Geode Eggs Craft! Have A Family Science Night!
Wanting to spend time with your kids this weekend, but do not want to spend too much money? Then, have a science night with fun experiments! I know my boys would love to make these fun Crystal Geode Eggs. This would be a fun Easter alternative to regular eggs, if making around the holiday. Here are the tools and materials you’ll need to make this fun craft:
- Alum (you can find this in the spice aisle)
- School or glitter glue
- Egg dye
- Blown-out white jumbo eggshell
- Small scissors
- Craft stick or plastic spoon
- Paintbrush
- Latex gloves
- Microwave-Safe Container
- Microwave
- Water
- Measuring cup
- Newspaper or drying rack
For directions on how to make this project, be sure to visit the Sweet Paul Mag Webpage! Please, let us know how it turned out and if your kids enjoyed it. We’d love to see the pictures of these fun Crystal Geode Eggs.