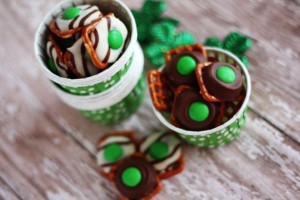
Jungle Animal Cupcakes Recipe!
March 2, 2016
Crafts, DIY, Family Life, Recipes

Jungle Animal Cupcakes Recipe!
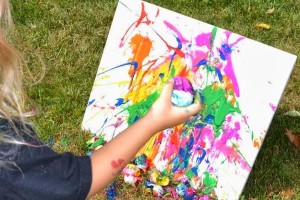
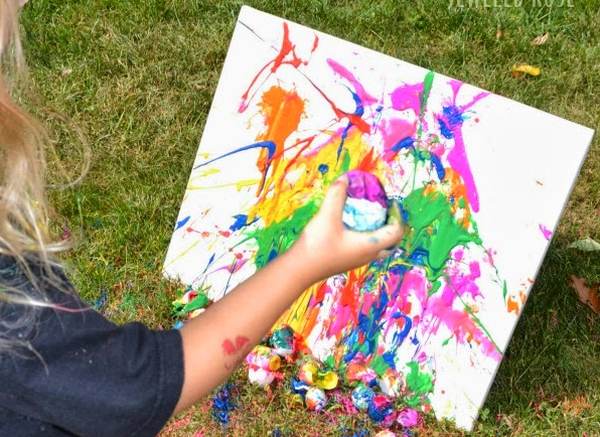
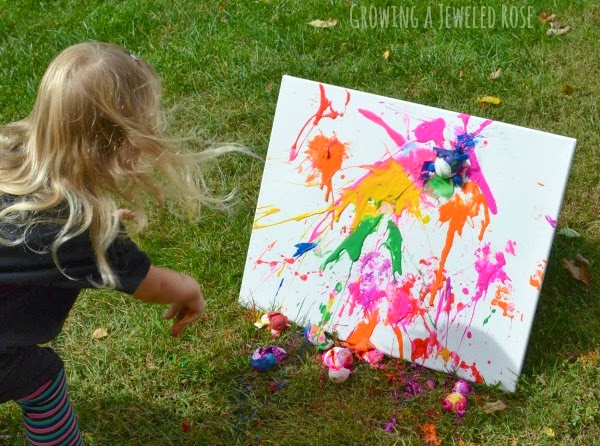
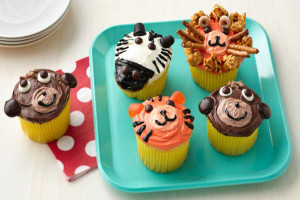
I recently took my kids to our local Zoo and they loved it! They asked for a fun animal-themed recipe, so I think that I’ll make these cupcakes! If your kids love zoo animals, as much as mine, then check out this adorable Jungle Animal cupcakes recipe! Let us know what you thought of this recipe and how yours turned out, we’d love to know! You’ll need:
Cupcakes and Frosting
- 1 box Betty Crocker™ SuperMoist™ yellow or devil’s food cake mix
- Water, vegetable oil and eggs called for on cake mix box
- 1 1/4 cups Betty Crocker™ Rich & Creamy chocolate frosting
- Black food color
- 2 1/2 cups Betty Crocker™ Rich & Creamy vanilla frosting
- Yellow and red food color
Lion Decorations
- 1 1/2 cups caramel popcorn
- 12 brown miniature candy-coated chocolate baking bits
- 12 pretzel sticks
- 12 pieces Cheerios™ cereal (any flavor)
Tiger Decorations
- 12 brown miniature candy-coated chocolate baking bits
- 12 orange chewy fruit-flavored gumdrops (not sugar coated), cut in half crosswise, top halves discarded
Monkey Decorations
- 12 brown miniature candy-coated chocolate baking bits
- 6 miniature marshmallows, cut in half crosswise, pieces flattened
- 12 small round chocolate-covered creamy mints
Zebra Decorations
- 6 round vanilla wafer cookies
- 24 brown miniature candy-coated chocolate baking bits
- 6 black chewy licorice-flavored gumdrops (not sugar coated), cut in half vertically
For additional details on how to make this tasty treat, click here!