Category: Family Life

Road Trip Hacks: How to Travel With Kids and Keep Your Sanity

travel with kidsWhen you travel with kids, you could be setting yourself in for a stressful time. 6% of parents in one survey confessed to returning home early from a family holiday because it was just too much for them.

A road trip with kids should be simple right? Wrong. They’re tired, they’re fidgety, they start fighting in the back – we love our kids, but sometimes they can be little terrors!

Here’s how to keep your sanity on a long-haul road trip.

1. Distract Them with a Map

When you travel with kids, give them a map and let them trace a finger along to your destination.

This can help to keep them occupied, as well as manage their expectations of when you might arrive.

Plus, they might learn the names of a few states or cities – parents can live in the hope we’re providing a bit of education for the little ones!

2. Plan Regular Breaks

On a long drive, there’s no doubt all that pent up energy in the back seat is going to cause a fuss sooner or later. And you’ll need the bathroom.

Scope out gas stations along your route before you leave, and plan where to stop.

Find places where you can park up a while and head to a nearby play area. Let them run around until they’re tired – and hopefully, they’ll be a bit quieter when you continue driving.

While you’re pulled into a gas station, you might be interested to know about how to get free gas and keep the cost of your trip low. You might also want to check for coupons to grab free or discounted food.

If exercise doesn’t work, how about trying to teach them a ‘calm breathing routine‘? Turn it into a game if you must.

Anything that stops them asking “Are we there yet?” one more time.

3. Bring Some Entertainment and Food

Bring books or audio books along for the drive. If you have an iPad, consider giving them that to play with if they’re old enough. Or even DVDs if you’re lucky enough to have televisions in your car seats.

If you have more than one child, handing them a travel set of a game like checkers, with a magnetic board and pieces can work wonders to keep them quiet for a few hours. So long as it doesn’t cause a fight.

Snacks can help to keep them quiet too – but don’t overdo it on the sugar. The last thing you want is a five-year-old at the height of a sugar high in the car with you.

If it’s a long journey, don’t forget to bring a packed lunch for the family – or make use of those gas station stops to refuel yourselves too.

Travel with Kids – Are You Still Sane?

Hopefully, these tips help you to survive your road trip with your mental health completely intact.

We hope your trip goes well – and if you want to save some money while you’re out of town, be sure to check out these hot deals – you never know when your luck will be in!

5 Things Your Baby is Thinking During a Diaper Change

babyWhen you look at your newborn, you may be under the impression that they’re not thinking a whole lot.

But just remember how much your baby has to learn by age 2, 3, and 5.

Most experts believe that babies begin thinking as early as the womb. And a Berkeley study showed that by 6 months a baby is already reasoning out probabilities (i.e., what may happen and the likelihood of that happening). This was previously thought to be a much higher level of reasoning.

So the question remains: What are babies thinking during a diaper change?

1. Yay, She’s Smiling At Me During My Diaper Change!

“Mommy is my Diaper Genie. She magics away all that wet stuff from my bum. And smiles at me while she’s doing it. I must be good.”

Your infant takes in everything. She sees every response to her as a statement about whether you accept her.

When you smile and play with your baby during the diaper change, she receives the message that she is okay. She is good. You approve of her.

2. Oh No, She’s Frowning At Me!

“Mommy’s not smiling when she takes off my diaper. She seems disappointed. She’s disgusted with me.”

Infants internalize everything a parent does. This includes words, facial expressions, and body language.

They don’t have the ability to reason, “I made something stinky and gross.” Instead, they think, “I am stinky and gross.” This can lead to a child’s holding the belief later in life that there is something wrong with him.

3. What Is This Stuff Coming Out of Me?

It is generally believed that, from the moment they are born, babies are constantly thinking. They are striving to understand this big place and the humongous people around them.

Babies are noticing patterns as they process new information on their surroundings. Baby is too young to understand what she is producing when there is poop on her bottom. She relies on the “big people” around her to mirror back how she should respond to it.

Again, this is why it is very important for Mommy and Daddy to meet her needs in an approving manner. This will translate to her approval of herself throughout life.

4. Am I a burden?

Picture it: A long, stressful day. Everything seems to go wrong.

You forgot your dental appointment. You misplaced your best blouse. You dropped your eggs when you were fumbling for your house keys.

It’s 7 p.m., you have a headache and you’re finally sitting down as your favorite show starts. That’s when you smell it…

It can be hard to keep your cool. Just remember that every reaction to your child is seen as about who he is as a person. He can’t understand the stress or inconvenience.

5. Why is Mommy/Daddy Laughing at Me?

We’ve already discussed how infants internalize everything. They believe every response to them is about their inherent worth.

If you have a tendency to nervously laugh when you’re changing a diaper, your baby is likely to interpret this as laughter at her. Or if you feel the urge to call over your spouse to see the monster poop your baby just made, she may be confused at this reaction. Just being mindful of your interaction with your baby can go far.

What would you add to our list of baby thought during a diaper change? Comment below.

5 Expert Tips for Moving on a Budget

moving on a budgetDid you know the average American household spends over $12,000 on a professional move?

Of course, the cost of moving varies greatly depending on several factors. The distance between locations and the weight of your belongings both play a role. However, the fact still remains that a move isn’t exactly cheap.

Fortunately, moving on a budget is a lot easier when you have the right plan in place. There are many steps you can take to ensure you’re not spending too much money.

Here are 5 pieces of advice you need to know before relocating. Read on to learn how to save big on your moving expenses!

1. Leave the Cheap Furniture Behind

It can be tough to sell your old home since it holds so many cherished memories. Similarly, your furniture can have a lot of sentimental value as well. However, moving on a budget requires making some tough decisions.

In most case, it’s not wise to drag along your cheap or old furniture. If the furniture is cheap, it won’t cost you much to replace, and if it’s old, you’ll have to replace it soon either way. All in all, you’ll save money by leaving the heavier pieces behind.

2. Don’t Skimp on the Truck

Most of us are always looking for the best new deals. As a result, small moving trucks seem like such an enticing choice. After all, they’re a lot cheaper, and you’ll somehow find a way to make everything fit anyway, right?

In reality, skimping on the truck can actually cost you more money. If you end up making multiple trips, you’ll have to cover the gas. Therefore, make an informed decision rather than simply choosing the least expensive truck.

3. Research All Your Options

One of the biggest mistakes many movers make is that they don’t research all of their options. They see one appealing price and get tunnel vision.

Before you make your final decision, look at multiple moving companies. To make sure you’re getting a good value, read online reviews as well. Also, make sure the companies have good standings with the Better Business Bureau.

4. Never Buy Boxes

One thing is for certain: you’re going to need a lot of boxes when you move. That said, there’s no reason to spend your money on boxes. Ask your friends if they have any to give you, or check the back alleys of clothing stores.

Additionally, look for creative ways to save space when packing everything. For example, see if you can fit some smaller items inside your washing machine.

5. Try Moving During Winter

Not everyone can control when they move. Sometimes, you have to get to your new job immediately. Other times, you want to get situated in your new home before the kids start school.

However, if you can help it, try to move during the winter. Professional movers offer the biggest discounts from December through February. Conversely, moving during the summer will hit your wallet the hardest.

Final Thoughts on Moving on a Budget

The tips outlined above can help you put together a plan for your next move.

When moving, make sure you do your best to avoid rush hour traffic so you can save you a bit of money on gas. Also, consider using USPS to ship your books in bulk.

Do you have any other useful tips for moving on a budget? What are some mistakes you made with moving in the past? Feel free to share with the rest of us by leaving a comment below!

How to Create the Best First Aid Kit For Emergencies

first aid kit
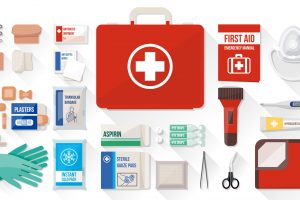
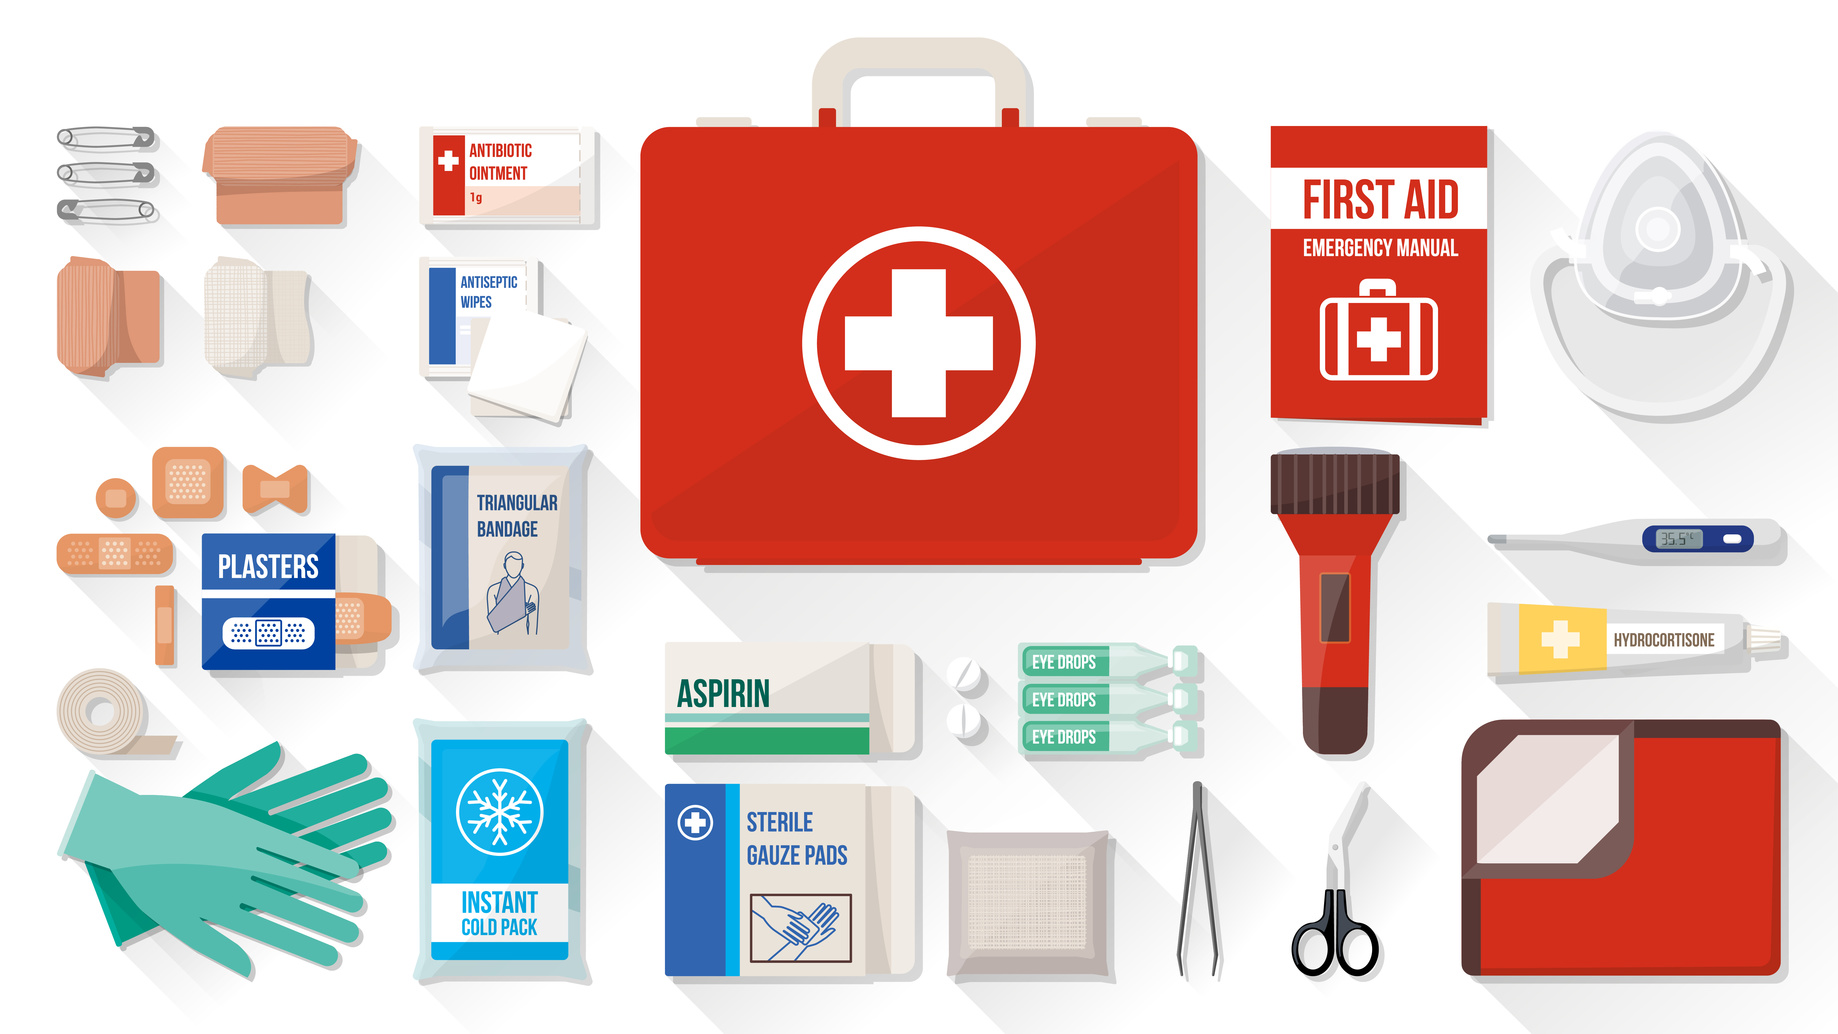
Having a first-aid kit on hand is one of the best ways to be prepared in the event of an emergency.

You probably have a closet at home that’s filled with band-aids, ointments, gauze pads and aspirin. Of course, it’s great to have these items scattered around your house. You should also have an actual first-aid kit put together.

A kit will undoubtedly come in handy anytime you venture outside the house. All you need to do is grab it and go! Kits can also be handy for in-home usage.

If someone in your family is bleeding heavily, you want to act fast. Having a first aid kit already put together will save you time. Everything will be right in one convenient container.

But what exactly should go in this first-aid kit?

Keep reading to learn how to create the best first aid kit for emergencies.

Container

To create the best first aid kit, the first thing you need is an appropriate container.

There is no hard and fast rule for the type of container you need, but know that there are a few different options to consider.

Plastic containers with snap-top lids are the most popular types.of first aid containers These are great for in-home usage, as they can be easily stored in a closet. And because they’re see through, they’ll be easy to spot.

For first-aid kits stored in vehicles, a backpack is a great option. Backpacks work well in case you have to leave the car. You can easily take the backpack with you on a camping trip without it being a nuisance.

Label Maker

Labeling your first-aid kit correctly will ensure it’s easy for household guests to find.

You can purchase an at-home label maker and put labels on the containers. You will want to label the outside of the container, as well as the smaller containers inside. If you have a backpack, you could sew on a red cross symbol for easy identification.

If you have young children who can’t read yet, put a big red cross on the box and explain to them what it means.

Items

Here is a checklist of items that you definitely want in your first-aid kit:

  • First aid book- A first aid book is essential for knowing how to properly use the items in the kit. Misusage of first-aid could exacerbate the injury or even cause death.
  • Adhesive bandages in a variety of sizes
  • Large gauze pads- you can always cut them up
  • Small pair of sharp scissors
  • Cotton balls
  • Alcohol prep wipes
  • Medical tape
  • Hydrogen peroxide
  • Rubbing alcohol
  • Non-latex gloves
  • Aspirin/Ibuprofen
  • Tweezers and sewing needle
  • CPR breathing mask
  • Thermometer
  • Sterile Saline

It’s a good idea to check your kit every few months to make sure you are properly stocked up on all of these items. You can restock your items through an online shop like Save Ride Medical. And if you are unsure of what items to use for what situation, remember to read the manual! A first-aid kit can save lives.

Optional Items

Once you have the basics packed, you may also want to think about storing some additional items for your specific situation. Some items you may want to consider are:

  • Bee sting kit
  • Snake bite kit
  • Matches
  • Ammonia inhalant capsules
  • Small knife
  • Paper bags
  • An awesome flashlight 

Best First Aid Kit: Wrap Up

With the information here, you will be able to piece together the best first aid kit you possibly can.

We want to hear about your own kit. What do you keep in your kit? Do you think we covered everything? Drop us a comment below.

Fun Crafts to Make With Your Kids Out of Origami Paper

origami paperOrigami is a great activity to do with your kids for so many reasons: it’s inexpensive, calming, and creative to name a few!

Making crafts with origami paper teaches your kids an attention to detail that they won’t get from an iPad game or coloring book.

It is also so satisfying to make something cool out of a simple piece of paper. Your kids will love to show off their special skill, and they can even make an origami creation as a signature gift for teachers, birthdays, holiday decorations, and more.

Read on to find 2 easy designs to make with your kids out of origami paper.

2 Easy and Fun Origami Paper Crafts To Make With Kids

Origami paper comes in so many different colors, patterns, and sizes. With a little creativity and skill, the possibilities of what you can create are endless!

Try one of these easy crafts to start. We recommend using paper designed for origami specifically, because it is made to fold, crease, and hold its shape. Origami paper is typically square, blank on one side and patterned on the other, enhancing your design.

If you just want to dip your toe in the origami water to see if you and your kids like it, you can start off with printer paper, newspaper, or magazine paper cut into 6x6in squares.

1. Origami Heart

  1. Start with the blank side of the paper facing up in a “diamond” (rather than a square). Fold the paper in half, from top corner to bottom corner, making a triangle shape. Press on the fold to crease.
  2. Unfold, then fold the left corner to the right corner and crease.
  3. Unfold, then take the top corner and fold the point to the center of the paper, which you can find by the cross of your crease lines.
  4. Fold the bottom corner to the new top edge.
  5. Fold the bottom right and left edges to the center crease line.
  6. Lastly, fold the top and side corners down.

You can add “I love you because” notes to these for an extra special touch!

2. Origami Flower

  1. Start with the blank side of the paper facing up in a square.
  2. Crease the paper both ways from edge to edge and unfold.
  3. Fold all four corners to the center point.
  4. Fold the new four corners to the center point as well.
  5. Now, grab one of the four points in the center. Fold it back out to the edge, creasing the middle of the triangle. Repeat this for the other three corners.
  6. Repeat this again with the four corners now in the center of the square.
  7. Fold the outermost corners back, and you have a beautiful flower!

Getting the hang of it? Check out more advanced origami flower designs here.

Now Get To Crafting!

Comment below with your favorite origami craft to make with your kids!

Did you know that Thrifty Momma Ramblings has a whole section dedicated to crafts? Check out everything we have on how to get crafty by clicking here.

The Best Car Seats That Are Affordable

car seats
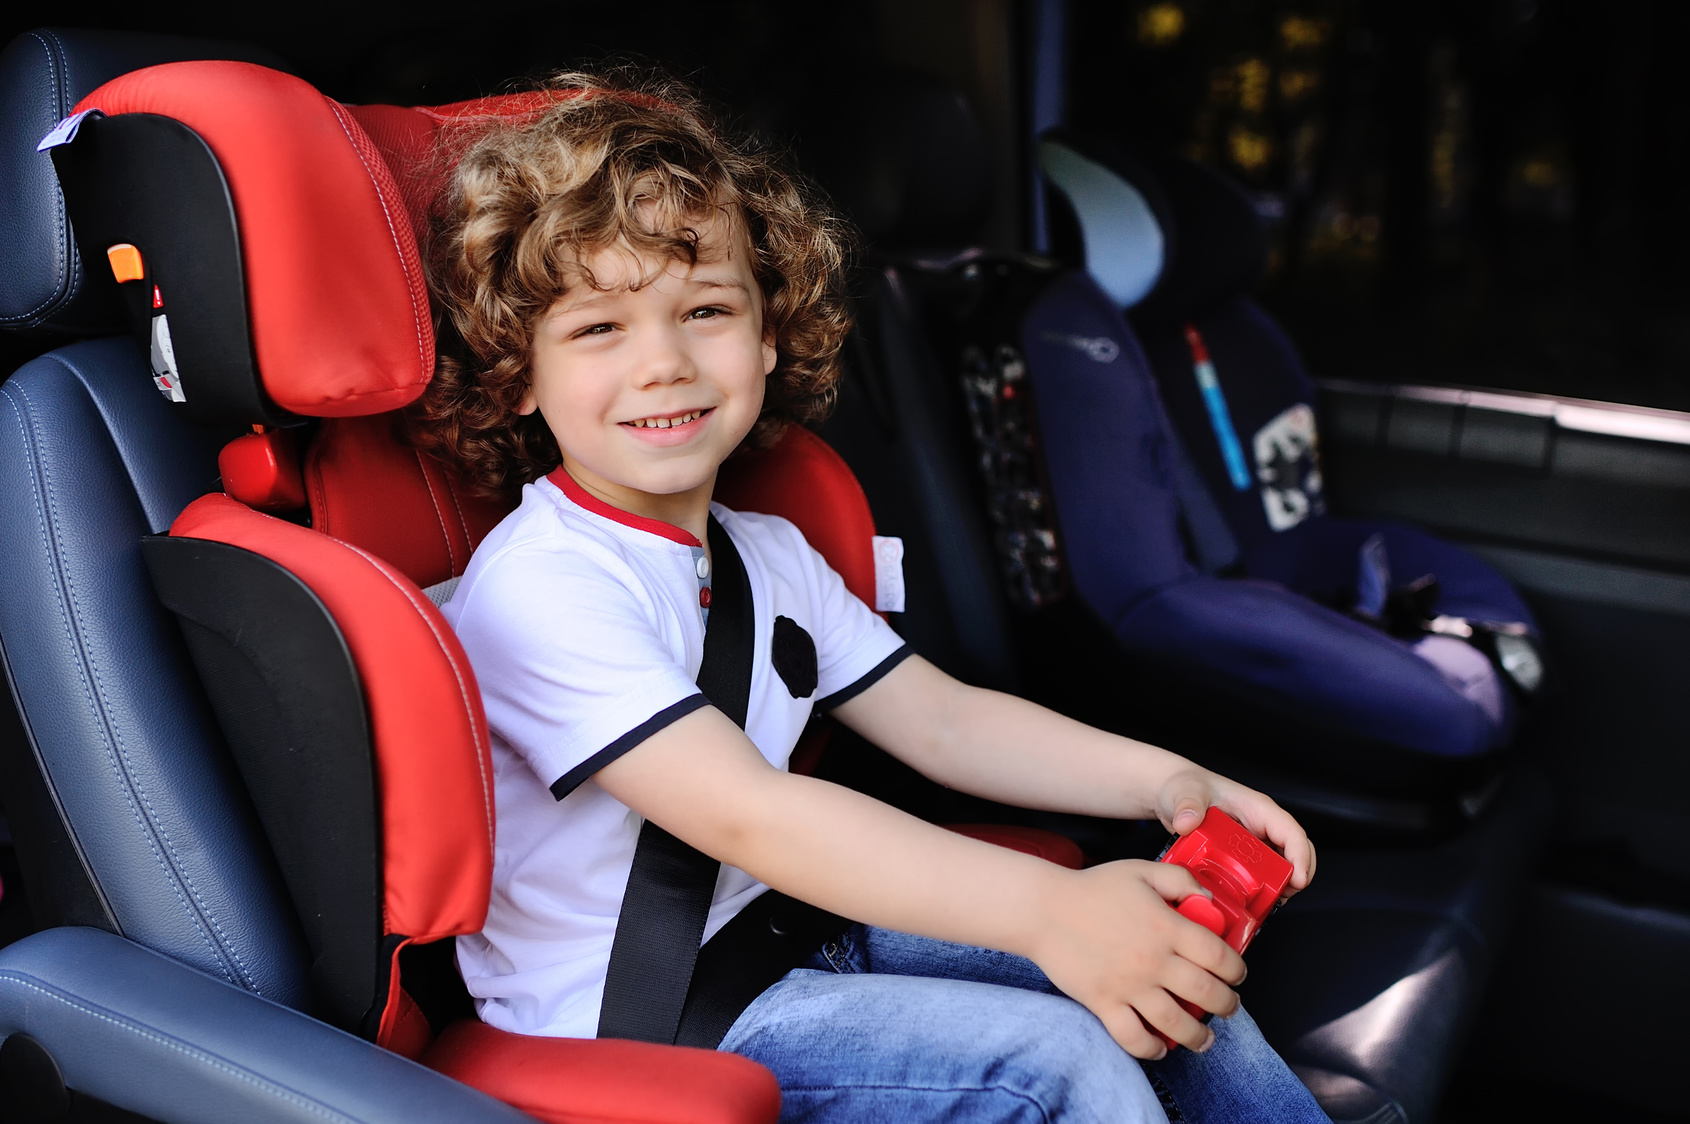
So, you want the best car seats to keep your children safe, but you don’t want to have to spend an arm and a leg?

You’ve come to the right place.

We reviewed the best convertible car seats, the ones that can grow and change as your child ages, to get you the most for your money.

The best part? All of these are under $200.

Let’s break it down.

The 3 Best Car Seats Under $200

The most important factors to consider when shopping for car seats are:

  • safety
  • durability
  • comfort
  • and cost (in that order)

Keeping your child safe from impact, air bags, and other dangers in the car is obviously the most important factor.

Once you find a car seat that meets safety standards, you’ll want one that is going to survive spills, crumbs, crafts, and tantrums.

You’ll also need one that can keep your child comfortable enough to nap in and help them stay happy in the car.

Here are our top 3 choices:

1. The Evenflo Maestro Booster Car Seat

This versatile car seat can hold children from 22-50 pounds as a car seat and 40-110 pounds when converted to a booster.

This car seat is definitely safe, as it was awarded Best Bet by the Insurance Institute for Highway Safety.

It is easy to install and transfer between vehicles because it is lightweight and comes compatible with standard LATCH systems.

The pad is comfortable and machine washable, making spills and messes no problem to clean up.

Believe it or not, this car seat and booster is super affordable: at only $80!

2. The Safety 1st Grow and Go 3-in-1 Car Seat

3-in-1 car seats will cost you a little more up front, but their outstanding lasting power will save you from having to buy a new car seat every time they outgrow a weight class.

This one, however, is still super affordable at only $169.99.

It has superior side impact protection, an easy in, easy out harness system, and a machine washable pad.

This seat can start off rear facing with your newborn as small as 5 pounds. It can support rear facing seating up to 40 pounds, so you don’t have to switch to the traditional front facing until their legs outgrow it.

It can then convert to front facing and hold up to 65 pounds until you’ll eventually need to convert it into a booster.

3. Baby Trend EZ Ride 5 Travel System

This is the best jogging stroller and carseat combo. If you’re constantly on the move, this is the right car seat for you and your child.

Surprisingly, it’s only $139!

The car seat can support up to 50 pounds and has incredible versatility features to make it fit your needs.

It has a height adjustable handle, a drink and snack tray, a 5 point harness system. All this and it only weighs 36 pounds altogether.

Now You Know!

See? A great and versatile car seat can be affordable! The trick is to decide which features are most important to your lifestyle.

If you liked this post, check out some other recent highlights, like this one on cutting waste or this one on eating healthy!

Awesome Sweet 16 Party Ideas That Won’t Break the Bank

Is your daughter about to turn 16?

She might imagine stretch limos and pop stars at her party, complete with 200 of her closest friends.

You as a parent probably have a more realistic vision. You certainly want to celebrate her big day in style, but you don’t want to break the bank doing it.

Don’t worry. Planning an awesome sweet 16 party doesn’t have to cost a fortune. With a little research and creativity, you can throw a party she’ll remember forever.

Here are some tips for planning a sweet 16 party on a budget.

Prioritize

If you’re on a tight budget, a surprise party probably isn’t the way to go. A better option would be to sit down with your daughter and find out what’s most important to her.

Does she want a big guest list or just a few close friends? Would she like the party to be at home or a different venue? What type of food, music and decor does she want?

Depending on her preferences, you may be able to pick one area to splurge while saving in another. If you need help estimating costs, try downloading a free event budget template.

By talking openly about the party, you can plan an event that will thrill your daughter without draining your bank account.

Take Advantage of Technology

Back in the “good old days,” throwing a birthday party often meant hiring a professional photographer and a live DJ.

But this is 2017, and times have changed. All your daughter’s friends certainly have cell phones, and they’ll probably spend most of the night snapping selfies. Then everyone can upload their pictures to a photo-sharing site or a Cloud folder after the party.

There’s no need to spend money on a DJ, either. Have your daughter create a playlist of her favorite songs or use a streaming service like Pandora to pump music into the party.

Sweet 16 Party Invitations

In today’s age of electronics, traditional paper invitations are becoming a rare sight.

Impress your daughter (and her friends) by creating beautiful custom invitations for her sweet 16 party. Use fun scrolling fonts and bright colors to match the decor and festive spirit.

Not only will this turn the party into a proper event, but it makes a great memento for a scrapbook.

Get Crafty

For party planning on a budget, there’s no better way to save money than to roll up your sleeves and get creative.

Why order an expensive cake from the bakery when you could bake one yourself? Cupcakes are another popular, easy-to-make option.

Rather than ordering centerpieces from a florist, why not make a colorful “candy bouquet” instead? Cover a floral foam box with colorful wrapping paper and make a bouquet of lollipops and suckers. Pop it into a bright box with some tissue paper, and your centerpieces are good to go!

Party favors don’t have to break the bank, either. You could make up a batch of mint lemonade lip scrub for the girls to use during the party. Better yet, divvy it up for them to take home afterward.

With a little ingenuity, you can host an awesome sweet 16 party for your daughter. Check out my craft blogs for more great DIY ideas!