S’mores Fudge Bars Recipe! Chocolate Bliss!
February 26, 2016
Crafts, DIY, Family Life, Recipes

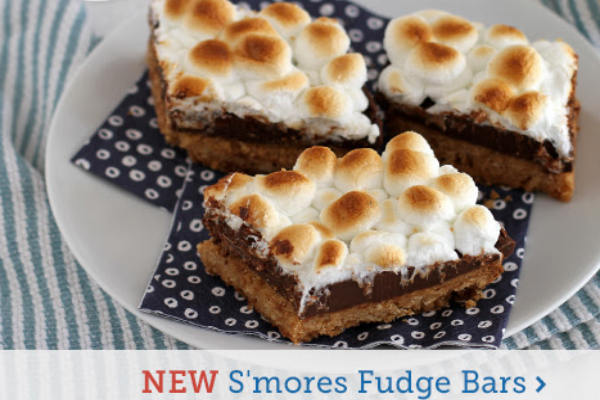
S’mores Fudge Bars Recipe! Chocolate Bliss!
Nothing says family fun like s’mores! My kids adore s’mores, but we cannot always go outside due to the cold weather. If you’ve been craving this treat, then here is a recipe to make these delicious S’mores Fudge Bars. We tried this recipe and adored it and we know you will too! Be sure to pick up the following ingredients:
- 1 pouch (1 lb 1.5 oz) Betty Crocker sugar cookie mix
- 1 cup graham cracker crumbs (about 8 crackers)
- 1 cup unsalted butter, melted
- 2 cups chocolate chips
- 1 can (14 oz) sweetened condensed milk (not evaporated)
- 3 cups miniature marshmallows
For additional details on how to make these delicious bars, click here!