Tag: Crafts

Your Friends Would Love To Get This!

diy
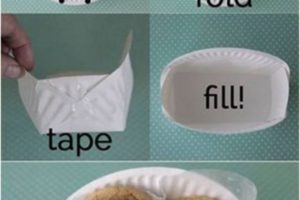
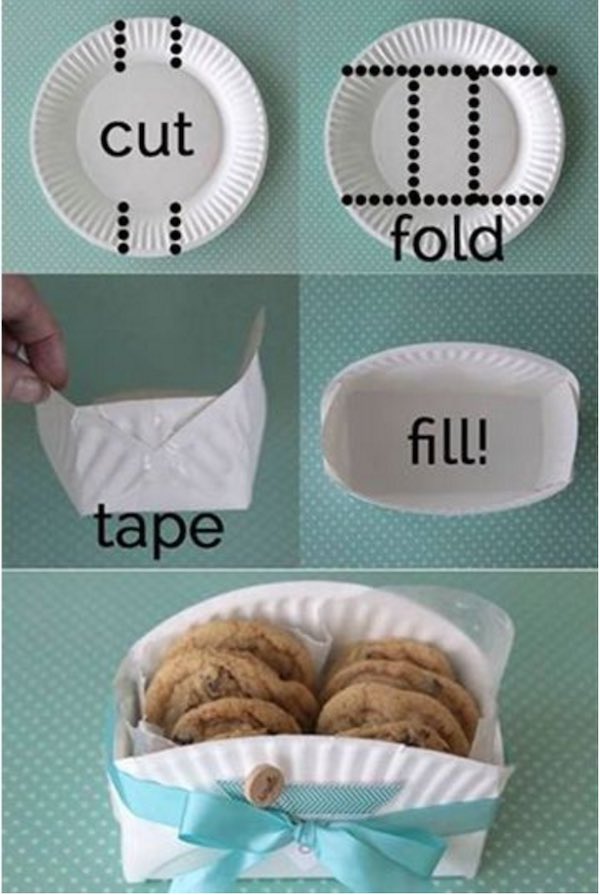
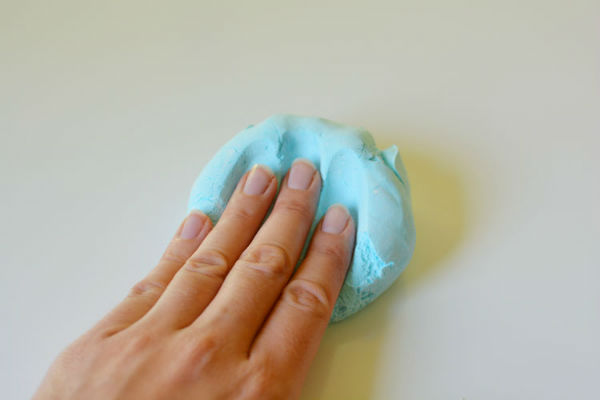
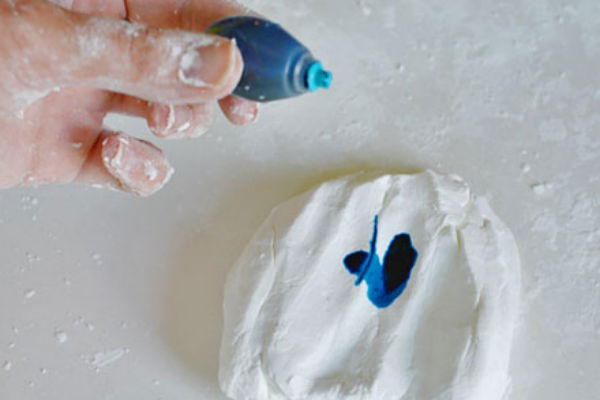
Who doesn’t love a good and easy DIY! This one is super simple to make and extremely versatile! This is the perfect thing to take some home baked or store bought cookies in to your 4th of July get together! Friends and family will be amazing at this adorable little cookie package! Follow the step-by-step instructions in the photo above! You can change out the colors and really personalize this!

If you liked this fun DIY today, check out our others here! Comment below on your thoughts and pictures of the ones you’ve done! Also, these are great for holding little knick knacks too!

Shaving Cream Play Dough DIY Project!

dough2

Shaving Cream Play Dough DIY Project!

Want to make a fun project with your kiddos this weekend? If so, you can make this Shaving Cream Play Dough craft. Plus, this shaving cream play dough is easy and relatively inexpensive to make. Want to make this craft with your children too? If so, be sure to pick up the following supplies at a nearby store:

  • ½ cup shaving cream
  • ½ cup corn starch
  • food colouring

PS: I was able to find all of these ingredients at my Walmart store for under $5!

For additional directions on making this craft, be sure to visit the One Little Project Webpage for more details. Let us know what crafts and projects you’ve been making lately. We love to hear from our readers.

dough

Get Your Crafting On With This Fun DIY!

keys
Here is a great way to spice up your boring keys! Ok I will have to admit, I am a little obsessed with this! You can get just about as creative as you want! This is super simple and your kids would have a blast helping you make these! Mine did!

Materials:
*nail polish in any color your want!!
*clear nail polish
*metal keys (this does NOT work with plastic covered keys)

Directions:
1. Wipe down your keys and make sure they are completely dry!
2. Pick a nail polish color and start painting your keys! Please ONLY paint the top part! You don’t want flecks of paint in your key holes!
3. Let dry completely, flip, and do the other side!
4. Once the whole key is dry, then you will want to paint a clear coat over the front and back of the painted area!
5. If you want to get creative then do that BEFORE you paint the clear coat!
6. Add to your key ring and you are good to go!

Wasn’t that just the cutest idea ever? I want to see what you did! Did you like this one? Let us know in the comments below! In the meantime, check out our other DIY’s over on our page!

Paper Plate Snake Project!

32

Paper Plate Snake Project!

Looking for a craft to make with your children this Saturday or holiday weekend? If so, I found this Paper Plate Snake project, which looks very fun and inexpensive to make. I love saving money and this is a great option for our home. Plus, I was able to pick up googly eyes, ribbon, and bubble wrap for less than $5! Want to make this paper plate snake craft as well? If so, be sure to pick up the following supplies:

  • Paper Plates
  • Green Paint
  • Roller
  • Bubble Wrap
  • 2 Googly Eyes
  • Red Ribbon
  • Glue

snake

For further instructions on making this project, be sure to visit the Craft Morning Webpage. What crafts have you made this summer? Let us know, because we love to hear from our readers.

Bath Tub Science Fun – Floating Cupcakes DIY!

science

Bath Tub Science Fun – Floating Cupcakes DIY!

Want a tutorial for floating cupcakes that your kids will love? If so, you must this fun project with your kiddos. I tried this fun tutorial with my youngest niece and she had such a great time. Want to make this craft as well? If so, be sure to pick up the following supplies in-store:

  • Cupcake liners – aluminum foil or silicon work great.  You could also use small plastic storage containers.
  • Sponge(s)
  • Scissors
  • Mr. Bubble Original Foam Soap for “frosting”

cakes

For additional directions on how to make these floating cupcakes, click here and visit the Kid’s Activities Blog! What crafts have you made with your family lately? Let us know in the comment section below, because we love to hear from our readers.

Simple Wind Chime Craft!

cup1

Simple Wind Chime Craft!

Want to make a craft this weekend with your kiddos? If so, why not make an outdoor project that they’ll see all summer? Check out this Toddler Wind Chime Craft, pictured above. This project looks fun and inexpensive to make, which is great for my family. If you’d like to make these wind chimes too, then here are the materials you’ll need:

  • Plastic Cup
  • Thread/String
  • Beads of different shapes and sizes
  • Small Jingle Bells
  • Scissors
  • Small clump of play dough

PS: I was able to find most of these materials at my local Dollar Tree store, which helped me save money.

cup2

For additional directions on making these wind chimes, be sure to visit the Rainy Day Mum Webpage for more details. What DIY projects have you made with your kids lately? Let us know, because we love to hear from our readers.

Fire Breathing Dragon Craft!

dragon

Fire Breathing Dragon Craft!

Are your kids bored during the summer months, especially Saturdays? If so, then you can make a fun DIY project with your children this weekend. I recently found this Fire Breathing Dragon Craft, which looks very fun and relatively easy to assemble. Want to make this dragon project too? If so, be sure to pick up the following supplies:

  • Cardboard tube
  • Coloured paper or colouring pencils
  • Glue / Tape
  • Tissue paper
  • Pompoms
  • Google eyes

PS: Most of these supplies you can find at home. If you are missing anything, visit your local Dollar Tree and look for these craft items.

fire

For further instructions on making this project, be sure to visit the Laughing Kids Learn Webpage. What crafts have you made this summer? Let us know, because we love to hear from our readers.