Tag: Craft DIY

Homemade Wallpaper Remover (2 Ingredients)!

spray9

Homemade Wallpaper Remover (2 Ingredients)!

Need to remove wallpaper? If so, I found an easy remedy that should help everyone! You can remove wallpaper with only two ingredients! Plus, you probably already have these supplies at home. Isn’t that great and thrifty? If you plan on removing wallpaper in your home, be sure to pick up the following supplies:

  • 2 C Water
  • 1/8 C Downy Laundry Softener

PS: I’ve actually found tiny bottles of Downy Softener at my local Dollar Tree.

For further direction on how to make this mix, be sure to visit the Texas Daisy Webpage for more details. Let us know if this post was helpful to you in the comment section below. As always, we’d love to know.

Simple DIY Tulle Tutu!

tulletutu

These DIY tutus are so cute! They are good for all ages from babies to young girls.  They can be used for dress up, a cute outfit for photos, birthdays, or color coordinated for a holiday outfit.  You can find the supplies at at craft store and the tutu can be made in an afternoon or less.  Scroll down for the instructions!


Supplies:

  • Tulle (either on spools, or by the yard) in your desired color
  • 7/8″ ribbon in your desired color
  • Scissors (or rotary cutter and mat)
  • Measuring tape

Instructions:

  1. Measure the child’s waist, as well as from the waist down to the point where you’d like your tutu to fall.   The measurement of your child’s waist is the measurement for the ribbon. And the measurement for how long you want the tutu is needed for the length of the tulle.
  2. Cut your strips of tulle. (tulle on spool is recommended) (If you buy tulle by the yard cut it all into six-inch wide strips before cutting the strips to the needed length). You can use a little or a lot of tulle, it’s up to you. To make fluffy and full tutus, use about 75 yards of the tulle on spools.
  3. To cut the length of the tulle measure twice the length you previously measured. (IE: if you previously measured 12 inches down, your strips will be 24 inches long) Cut the tulle into strips and set aside.
  4. Cut your ribbon. Add 48 inches to your waist measurement and cut the ribbon this length. This will ensure nice, long ends to tie a pretty bow with. Heat seal the ribbon ends with a lighter so they don’t fray, but if you don’t mind a little fraying you can skip this step.
  5. Start knotting on your tulle. To make super fluffy tutus, use three strips of tulle for each knot. Gather your three strips together, fold in half and slip the folded part underneath the ribbon. Grab the two long sides of the tulle and bring them up through the fold, pull tight, and slide all the way toward the left of your ribbon.  Continue until you have reached the desired amount of tulle for your tutu.
  6. Leave about 10 inches of loose ribbon on each side of the tied tulle to tie a good size bow on your little princess.
  7. tutu
  8. You’re done! You can trim up the bottom if you’d like, but I like the not-so-perfect look of it when it’s finished so I don’t do any trimming.

Thanks, simplyrealmoms for the step by step instructions!

Make These Adorable Teacup Candles

Don’t you love the vintage look of these tea cup candles?  The good news is that you can make them yourself!! Consider giving these as a gift, decorating your home, or decorating a wedding shower.  They are easy to make and pretty to look at.   Scroll down for the easy DIY instructions!!

teacupcandle

DIY Teacup Candles

Supplies:

  • Vintage teacups
  • Colored Granulated Wax (or soy wax flakes)
  • Candle Wicks
  • Skewers
  • Optional: Candle scent

Directions:

1. Make sure the teacups are totally clean!

2. Set one wick in the center of the teacup. Keep steady by pinching the wick in place with the skewers. You can use tape to keep the skewers together to keep them from moving, but it isn’t necessary.

3. Using a double boiler, melt the wax until liquid. If you are using any special candle scents, pour in a few drops right before moving on to the next step.

DIY Teacup Candles4. Immediately pour into the teacup and fill to the top. You will want to leave 1/4″ – 1/8″ at the top. Make sure you don’t get any on the wick!

5. Wait for the candles to solidify. This will take a few hours.

6. Trim the wick at the top to about 1/4″.

Alternative Directions:

If you are using granulated wax, you don’t need to do any melting! This is a great option if you’ve never made candles before or don’t feel comfortable melting wax and pouring it into candles. All you need to do is set the wick in the center of the teacup and pour the granulated wax all around it. That’s it! The wax will melt when the candle is lit.

Thanks, thesassylife!

How Do You Paint With Eggs? Find out how!

This activity uses recycled eggs, is cost effective, and would totally be so much fun for the kids to play and create at the same time.  You will also get a painting that you will be able to hang and adorn your playroom or kids bedroom walls.  Scroll down to get all the instructions to this fun filled activity.  If you create this, send me a picture I’d love to see your kiddos creations!
eggpainting

Paint Filled Eggs on Canvas


Supplies:
  •  Emptied eggshells
  • Paint (we used washable tempera)
  • Tissue paper
  • A glue stick
  • Optional: A canvas- you could also use poster board or paper

Instructions:

  1. Use a butter knife to gently crack the top of the shells, making a hole big enough for the egg to pass through.
  2. Give the eggshells a quick rinse with warm water and anti-bacterial soap and place them back into the carton to dry.
  3. Fill the eggs with paint.
  4. Fill eggs with paint and toss them at canvas! This project is surprisingly easy to set up and SO FUN!
  5. Seal them using tissue paper and glue.
  6. Use a glue stick to cover one side of a tissue paper square and then gently stick that over each egg opening.
  7. Allow the kids to freely throw the eggs at a canvas.
  8. Let the canvas dry and decorate your wall with your kiddos egg art!
Paint filled eggs on canvas


Easy DIY Yarn or Twine Decorative Balls

I got the idea of these Easy DIY Yarn or Twine Decorative Balls from a friend of mine that has creatively placed her own DIY project all over her house.  You would never know they are a DIY, they are so cute!! I have posted some pictures to give you ideas on how to decorate with the yarn or twine balls. The directions are pretty straight forward, scroll down past the pictures to get to them in the post. If you do this DIY, send me a picture I’d love to see your creation!

twineball yarnballs yarnballs1


Materials

  • Balloons
  • Plastic bags or a dropcloth to cover the floor
  • Cooking spray
  • School glue
  • 1/2 cup cornstarch
  • 1/4 cup hot water
  • Scissors
  • Yarn or twine
  • A mixing bowl

Instructions

  1. Blow up balloons to different sizes (filling balloons only halfway will help you achieve a more spherical shape) and knot each balloon
  2. Create a drying area (If you’re working outdoors or in the garage, hang up a clothesline. If you’re working indoors, suspend a string between two chairs. Be sure to put a dropcloth or plastic bags under the drying area to catch any drips.)
  3. Hang balloons from strings above the drying area
  4. Spray balloons with cooking spray (to make removing the yarn/twine easier later)
  5. In the bowl, mix hot water with cornstarch
  6. Add a bottle of white school glue and mix thoroughly
  7. Dip yarn/twine into the glue mixture and gently squeeze out the excess with your fingers — you may want to wear rubber gloves.
  8. Beginning at the knot-end of your balloon, wrap your balloon with the wet yarn. The more you wrap, the denser the ball will be
  9. Wrap in all directions, top to bottom and side to side
  10. When you’re satisfied with the wrapping, cut the string.
  11. Repeat the process with the remaining balloons
  12. Allow the balloons to dry completely. This may take about 24 hours. The yarn should be stiff and dry
  13. Pop the balloon. Try very gently kneading the balloon before popping it to separate it from the yarn. Remove the popped balloon

Tip: If the ball collapses a little, inflate a new balloon inside the ball to gently push the collapsed spot back into place, and then remove the balloon.

https://www.pgeveryday.com/home-garden/crafts/article/diy-yarn-balls

Thanks, pgeveryday!

A Little Gold Paint Goes a Long Way!!


I have stumbled upon a few DIY projects that all have the same theme – gold spray paint!  It’s amazing how a little gold paint really goes a long way in decorating.  Remember- you don’t have to do just gold, you can switch it up to your color of choice.  Let me know if you do any of these super cute DIY’s! I’d love to see how they turn out!

For the kitchen…

magnetletters

Supplies:

  • cardboard or paper
  • plastic primer spray paint
  • gold spray paint

Instructions:

  1. In a well-ventilated area, on a piece of paper or cardboard, start by spraying the back of your letters with the primer. (you can sprayed right over the magnets. They hold just as well with the paint.
  2. Cover both sides of the letters with two coats of the primer
  3. Then follow with two coats of the gold or until the letters are completely painted. Allow time for drying in between each coat.

For a kids/teens/play room, or holiday decor…

chrismaslights

Supplies:

  • Christmas lights
  • paper towels

Instructions

  1. Take your Christmas lights out of the box.
  2. Unscrewed all of the light bulbs and set them aside.
  3. Tear paper towels into 2×2 inch squares and stuff one in each socket to protect from the spray paint.
  4. Then take the wire outside to a well ventilated area and hang from a nail
  5. The paint dries quickly,  in about 10 minutes.
  6. Screw all of the lights back in and you are done

For anywhere… 

goldplanters

Supplies:

  • Terracotta pots
  • White acrylic paint
  • Paint brushes
  • Gold metallic spray paint
  • Cardboard

Instructions:

  1. Flip the pots upside down with the opening sitting on the cardboard
  2. Paint the pots with a base coat of white acrylic paint
  3. when bottom drys flip over pots and give the tops a good paint along with 2 inches into the inside of the pot
  4. when acrylic paint dries take outside to a well ventilated area and paint gold
  5. Paint 2 coats. Let sit until dry.

Easy Gardening Hacks and DIYs!!

For some spring is already here, and for others spring is right around the corner.  Gardening season is quickly approaching.  Here are some easy gardening hacks and DIY’s to help make this years gardening successful!

garden1

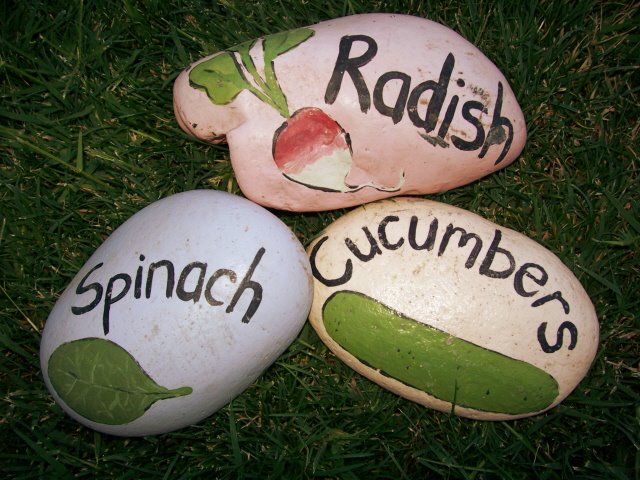
Make your own garden markers using stones you found outside.

Supplies:

  • Round river rocks
  • Acrylic paints
  • Paint brushes
  • Scrubbie & soapy water
  • Spray paint sealant

Instructions:

  1. Wash off the river rocks with a scrubbie and soapy water.
  2. Once the rocks are clean, sit them out in the sunshine to dry.
  3. Paint river rocks with desired design and let dry.
  4. Spray the painted rocks with the spray paint sealant with up to about 5 coats.
  5. Lay out in your garden to label your plants!


garden2

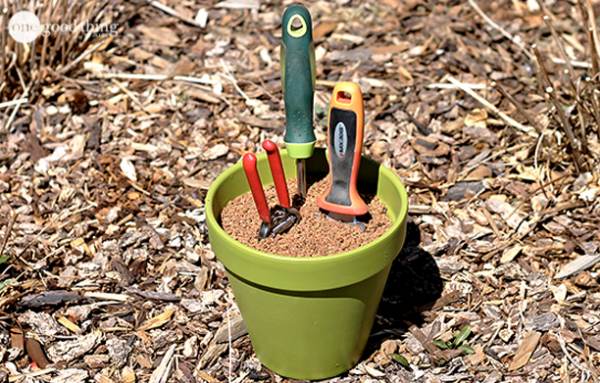
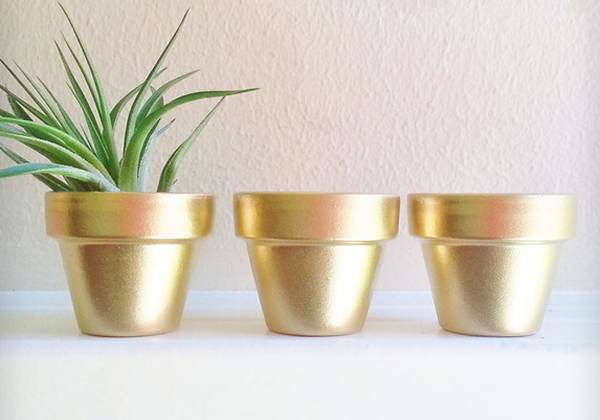
A terra-cotta pot filled with a mixture of sand and mineral oil makes a holder for your small gardening tools. The sand is abrasive, so it sharpens your tools. The oil in the sand keeps your tools well-lubricated, protecting them from rust and dirt build-up.

Supplies:

  • a mid-size terra-cotta pot
  • spray paint (optional)
  • pottery sealer (optional)
  • a large bucket
  • sand
  • mineral oil

Instructions

  1. Start by painting your pot (optional)
  2. Spray paint the pot with 2 coats and out to cover the pot completely.
  3. Once the paint was dry to the touch, spray a layer of pottery sealer.
  4. While the paint and sealer are drying, you can mix up your sand and oil.
  5. Pour your sand into the large bucket, along with 20-30 ounces of mineral oil. (If you can’t find plain mineral oil, you can also use baby oil – which is simply mineral oil with fragrance added!)
  6. Use a trowel or other garden tool to stir the sand and the oil together until the oil is distributed evenly throughout.
  7. If your pot has a drainage hole at the bottom, cover the hole with a couple of pieces of duct tape.
  8. Fill your pot with the oily sand, and lightly pack it down.

garden3

Coffee grounds keep pests away and also enriches the soil!!

garden4

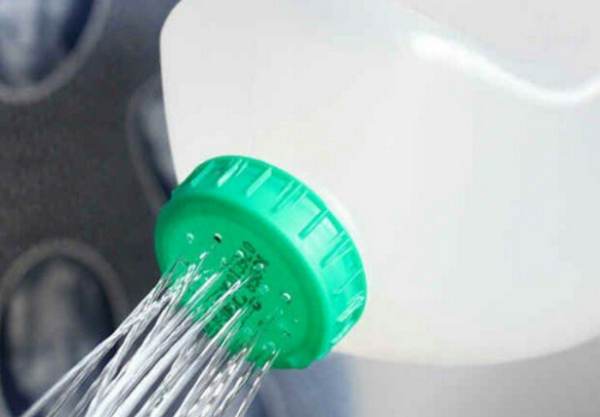
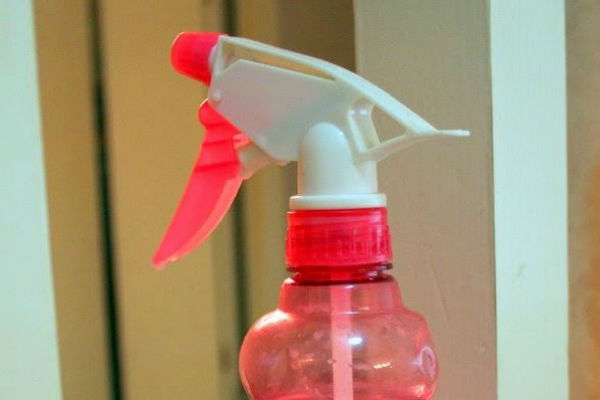
Use an old milk jug for a makeshift watering can!

garden6

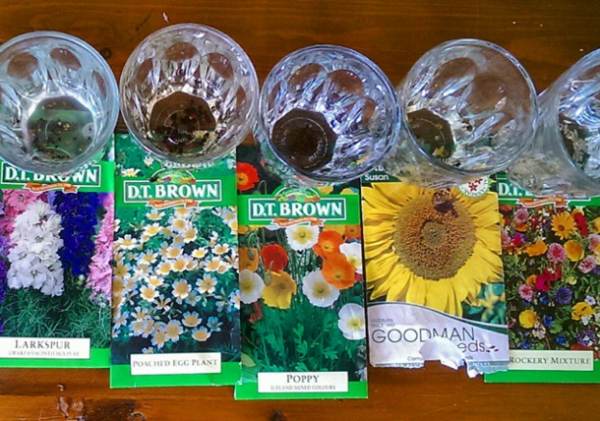
Sprouting your seeds 24 hours in advance helps the plants ready to take root and grow strong.

garden5

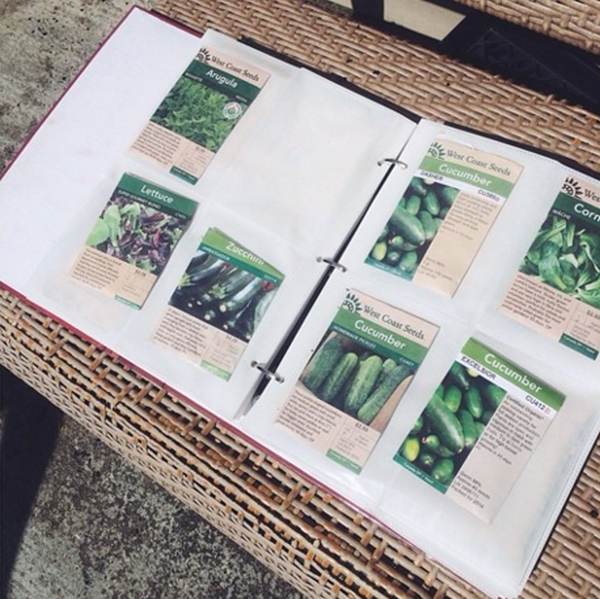
Catalog your seeds in a photo album.


garden7

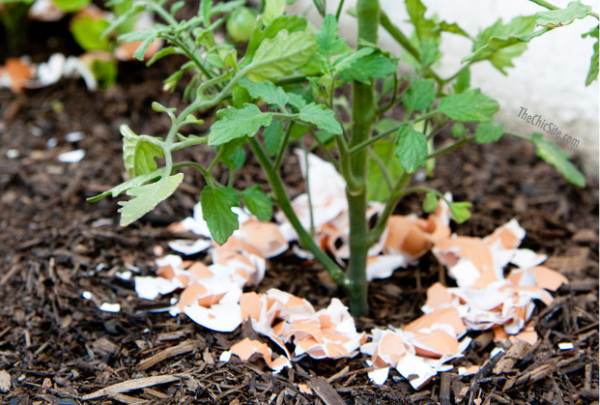
Place washed, dried, and crushed eggshells around the base of your plans to protect them from insects and nourish the soil with calcium!!
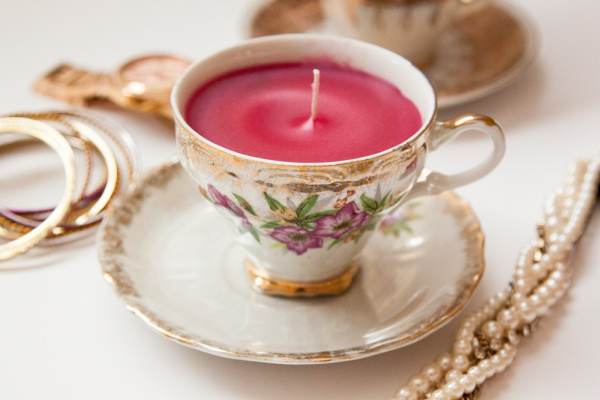