Washi Tape Mini Wood Pallet DIY Coasters!
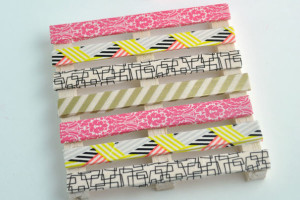
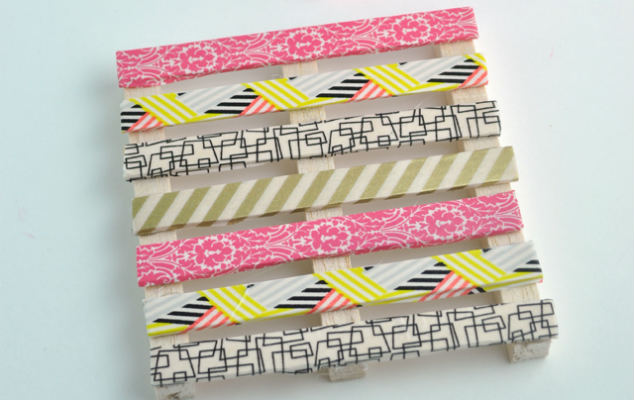
Washi Tape Mini Wood Pallet DIY Coasters!
My husband and I love to collect different nerdy mugs and glasses. Every time we visit somewhere, we buy a mug from that state or country. So, my husband and I searched for a inexpensive coaster DIY idea and found one! Your guests will absolutely love these and ask how you made them! Here’s what you’ll need to make your own:
- wood craft sticks
- 1/2″ square balsa wood rod (look in the wood section at your hobby store)
- pliers with wire cutting blade
- craft knife
- sand paper
- hot glue gun
- washi tape
- scissors
- Mod Podge
Let us know what you thought of this DIY and how yours turned out! This is such a cute craft idea, so do not miss out. For additional directions on how to make this coaster, visit the Washi Tape Crafts Webpage!