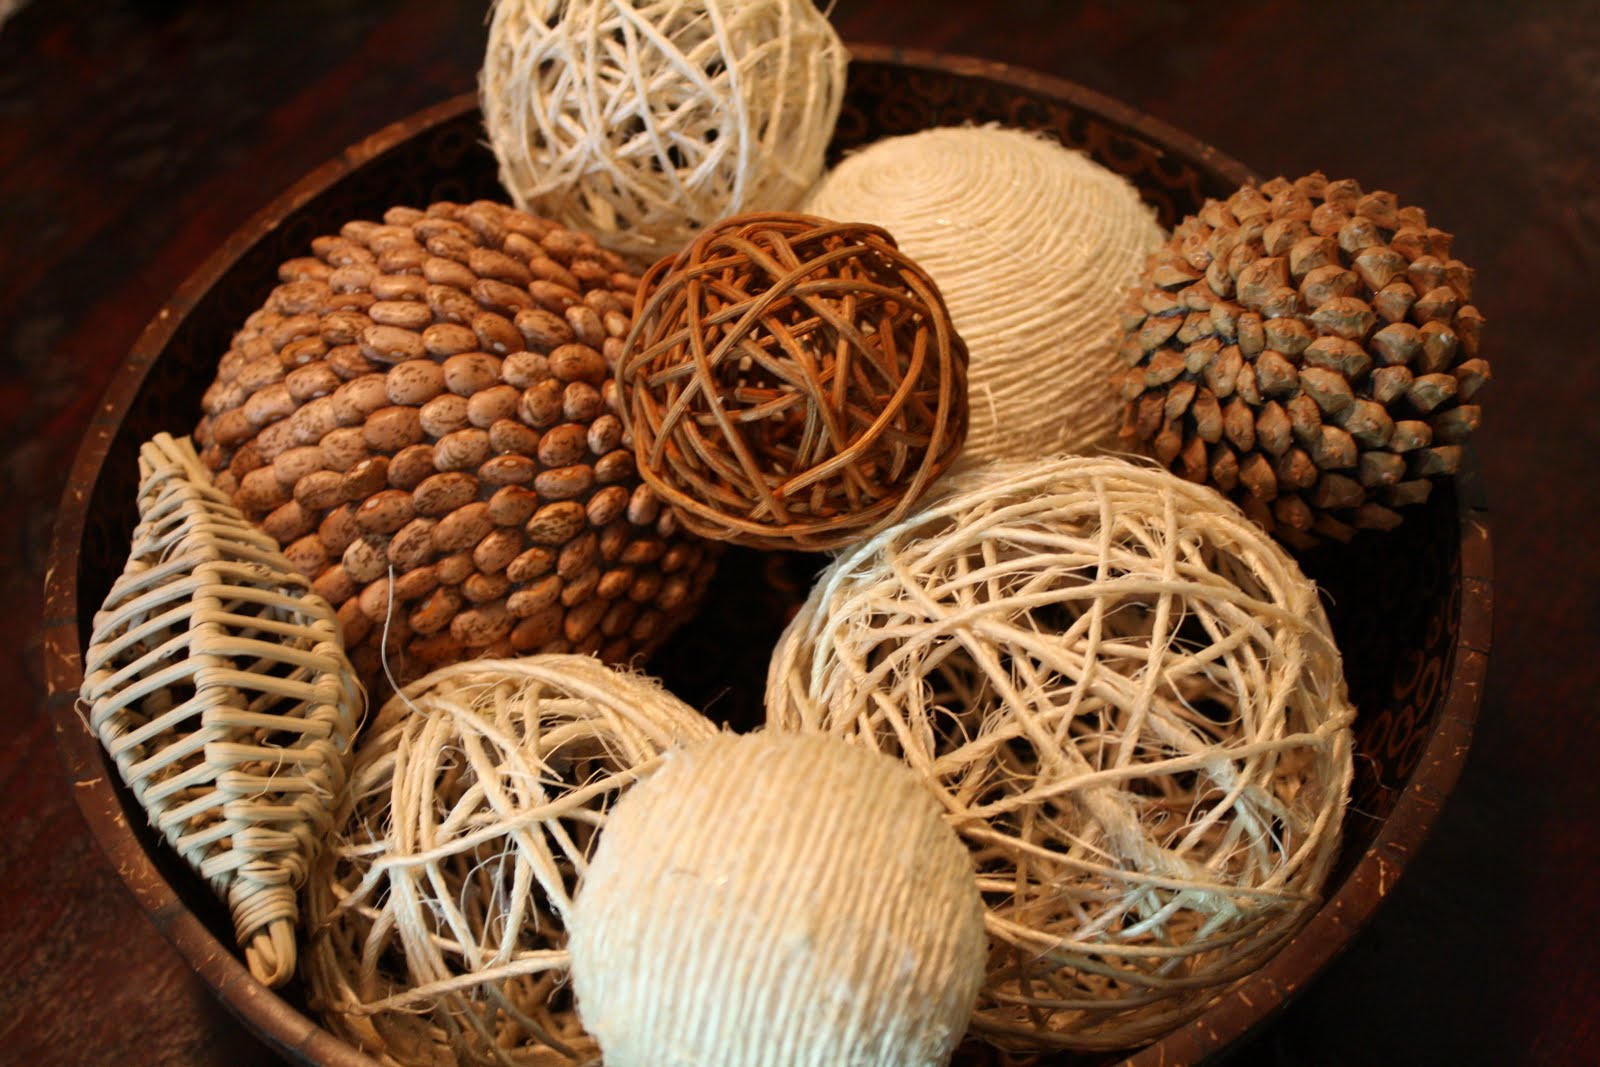
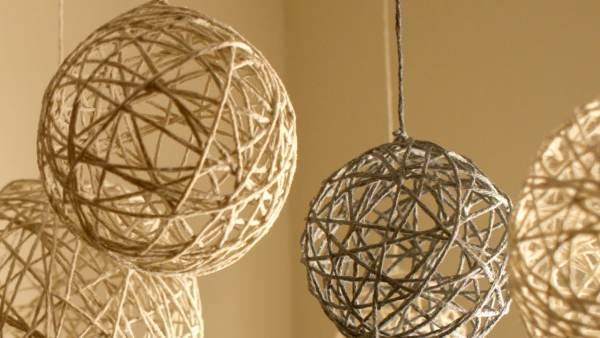
Easy DIY Yarn or Twine Decorative Balls
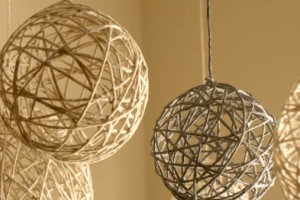
I got the idea of these Easy DIY Yarn or Twine Decorative Balls from a friend of mine that has creatively placed her own DIY project all over her house. You would never know they are a DIY, they are so cute!! I have posted some pictures to give you ideas on how to decorate with the yarn or twine balls. The directions are pretty straight forward, scroll down past the pictures to get to them in the post. If you do this DIY, send me a picture I’d love to see your creation!

Materials
- Balloons
- Plastic bags or a dropcloth to cover the floor
- Cooking spray
- School glue
- 1/2 cup cornstarch
- 1/4 cup hot water
- Scissors
- Yarn or twine
- A mixing bowl
Instructions
- Blow up balloons to different sizes (filling balloons only halfway will help you achieve a more spherical shape) and knot each balloon
- Create a drying area (If you’re working outdoors or in the garage, hang up a clothesline. If you’re working indoors, suspend a string between two chairs. Be sure to put a dropcloth or plastic bags under the drying area to catch any drips.)
- Hang balloons from strings above the drying area
- Spray balloons with cooking spray (to make removing the yarn/twine easier later)
- In the bowl, mix hot water with cornstarch
- Add a bottle of white school glue and mix thoroughly
- Dip yarn/twine into the glue mixture and gently squeeze out the excess with your fingers — you may want to wear rubber gloves.
- Beginning at the knot-end of your balloon, wrap your balloon with the wet yarn. The more you wrap, the denser the ball will be
- Wrap in all directions, top to bottom and side to side
- When you’re satisfied with the wrapping, cut the string.
- Repeat the process with the remaining balloons
- Allow the balloons to dry completely. This may take about 24 hours. The yarn should be stiff and dry
- Pop the balloon. Try very gently kneading the balloon before popping it to separate it from the yarn. Remove the popped balloon
Tip: If the ball collapses a little, inflate a new balloon inside the ball to gently push the collapsed spot back into place, and then remove the balloon.
https://www.pgeveryday.com/home-garden/crafts/article/diy-yarn-balls
Thanks, pgeveryday!