Does All Assisted Living Cost a Lot?

Did you know that around 1 million adults in the United States live in assisted living facilities? If you are currently doing some research about assisted living including the costs, you are in the right place. We have put together this short guide to share more information about senior living. 

Keep reading to learn everything there is to know about assisted living communities. 

How Much Does Assisted Living Cost?

The truth is that assisted living costs vary from one state to the next. The main variables include the location, the size of the rooms, the amenities, food, etc. There are some assisted living facilities that are all-inclusive where you only have one monthly bill and other facilities where the services are a la carte. 

The average cost of assisted living in the United States is around $4,000 but depending on the area it can be a couple thousand more. You can look at a bit more info about this reputable assisted living facility for a better idea. 

How to Pay for Assisted Living

Some people are under the impression that Medicare covers the expenses that come with assisted living but, the truth is that Medicare usually does not pay for assisted living. Most people pay for their assisted living from their own personal resources. Adult children tend to also help their parents with these expenses. 

In some states, you can look into community-based waivers to help those with lower income. If you do not make too much money then you can look at the Medicaid resources for your state to see if there is any help available for you or your loved one. 

Another way to pay for assisted living is to either apply for a reverse mortgage on your parent’s home to convert the equity into funds. Also, some people will rent or sell the home to pay for assisted living.

Sometimes life insurance can be sold for a lump sum to help with funding assisted living and long-term care. Take a look at your life insurance or your parent’s life insurance to see if this is an option. 

Choosing an Assisted Living Facility

It might feel a bit overwhelming choosing an assisted living facility but there are a few things that you can take into consideration such as how much help is needed daily or if there are dietary restrictions. Take a look at the activities that the place offers and also the size of the rooms and whether or not everyone has a roommate. 

Feeling Like an Assisted Living Pro?

We hope that now that we went over the costs that come along with assisted living you can make an informed decision for yourself or your loved one. Now is the time to decide if it is time for assisted living or not. 

Did this blog post help you? Please browse around some more for some of our latest tips and tricks. 

3 Steps to Healing Your Gut

Are you suffering from gut issues like pain and bloating? If so, you aren’t alone! As many as 74 percent of Americans suffer from some form of gastrointestinal (GI) discomfort. 

Dealing with these problems can make you uncomfortable but depending on the severity of your symptoms, it can also change the way you live your life. Read on to learn three steps to healing your gut!

1. Eliminate Triggers of Your Problems

Eliminating triggers of your GI discomfort is a great way to heal your gut and make you feel better. If you’ve only had symptoms a couple of times, you may have a hard time narrowing down what may be the cause. 

If your symptoms happen more often, be sure that you are paying attention to what you do and eat before they start. For example, begin keeping a journal of your daily activities, as well as your meals and snacks. 

If you notice that stress and/or certain foods are causing issues, it will be best to avoid those so that you don’t have bad symptoms. 

2. Take a Daily Probiotic Supplement

If you’re wondering how to have a healthy gut, don’t overlook the importance of taking a daily probiotic supplement. The best supplements for gut health are the ones that contain bacteria that aids in digestion.

Some of the best strains of probiotics are Lactobacillus and Bifidobacterium. It’s not uncommon for a combination of these healthy bacterias to be part of one supplement that you take each day. 

The bacteria are often found in foods like yogurt but taking these bacteria in a pill form is important. It helps you ensure that you are getting enough of them daily to help make food digestion easier on your gut!

3. Eat a Healthy Diet

What you eat can have a major impact on whether you have a leaky gut or not.  By eating a well-balanced diet, you will make the food absorption process an easier one on your body. 

Besides eating yogurt as part of your diet, foods like sourdough bread, olive oil, yogurt, green peas, apples, and almonds can help you feel more comfortable. Incorporating these foods into your diet are also healthy alternatives to processed foods that can be harder to digest. 

The combination of a daily probiotic supplement and a good diet will help you make gut discomfort a thing of the past!

Begin Healing Your Gut Today

GI pain and discomfort can change the way that you work, live, and play. Begin living your life to the fullest by healing your gut today. Identifying triggers, taking a supplement, and changing your diet are effective ways to tackle your gut problems. 

Are you interested in learning about other ways to help you and your family live happier and healthier? Check out our blog section for our posts on the signs of hormonal imbalances, improving eye health, and more!

Ready for Anything: A Guide to the Different Types of First Aid Kits

Having a good first aid kit at home is a good idea. Cuts and burns make up common accidents that occur at home. You can treat these types of injuries with the supplies found in most first aid kits. 

Having a first aid kit at home can come in handy. If you’re planning to buy a first aid kit, take a moment to read this guide. 

This guide provides information about the different types of first aid kits you may need. 

Personal-Size First Aid Kit

A personal-size first aid kit is a top choice for persons who live alone. It contains all the supplies you may need to treat a minor cut or scrape. 

The perfect personal-size first aid kit is compact and easy to find supplies in. In it, you’ll find a variety of bandages of different sizes and shapes. It contains a couple of alcohol pads and antiseptic wipes. 

This first aid kit can fit in a kitchen drawer or the medicine cabinet. It can serve as a travel kit too. 

A First Aid Kit for Families

For households with a family, a home first aid kit is a good choice. This type of kit often comes in a rubber case or a plastic box with a convenient carry handle. 

It will include enough supplies to meet the needs of an active family. Most home first aid kits have gauzes and bandages of different sizes. Expect to find antibiotic ointments and antiseptic wipes in them too.

The larger your family, the bigger the first aid kit you may need to buy. Before you buy one, take into account the number of persons in your family.

Burn Kit

First aid for burns can be an arm’s reach away. Did you know there are first aid kits that provide the necessary supplies to treat minor burns?

This type of kit contains sterile gauze rolls to cover gel that’s put over burns. It also contains burn dressings. If anyone in your home suffers a burn, use this kit to provide them with burn relief until they can seek treatment. 

Build Your First Aid Kit

Companies that make first aid kits often allow customers to make their own first aid kit. This option allows you to customize a kit with the supplies you want. 

Whether you buy a pre-made first aid kit or you make your own, you’ll need to replenish it when the supplies run out. Keep in mind to buy first aid refill supplies.

Different Types of First Aid Kits: Which One Do You Need

If you’re in the market for a first aid kit, consider different types of first aid kits. 

Buy a first aid kit that contains the supplies you need. Do remember to keep your kit full of supplies. 

If you liked reading this article, continue to explore our blog. You’ll find more interesting articles to help you become thrifty and save money. 

Interesting Facts About Tealight Candles You Probably Didn’t Know Before

In 2018, the global candle industry was worth 3.45 billion US dollars. Though they are the world’s oldest form of light, it’s safe to say that the popularity of candles has not yet burned out.

The primary consumer of both scented and unscented candles are millennial women. That said, most people, regardless of their demographic, appreciate candles for their significance in culture, their aesthetic, and their ambiance.

The most common and accessible candle is the classic tealight candle. Let’s take a walk through history and explore some interesting tealight candle facts

Primarily Utilitarian

Today, the tealight candle is mostly associated with mood lighting and cheap but chic decor. However, its humble beginning was purely utilitarian.

In Victorian England, wealthy people had their trays of food and tea warmed by candles. These thin candles, placed in cylindrical metal candleholders, were the original hot plate.

These lights were primarily used to warm tea in a tea warmer. Hence the term “tealight” candles.

Symbolic Candle Lighting

Candles have been used to demonstrate symbolism across various religions and cultures for centuries. Perhaps the most notable tradition involving tealight candles is the Japanese tea ceremony. Though each type of Japanese tea ceremony stands for a different height of Zen, they all have several factors in common, including the use of tealights. Lighting candles signifies the time and mood change from daylight to dusk.

religious ceremonies around the world feature tealights in their candle-lighting traditions as well. This is typically ascribed to monotheistic religions.

For instance, in both Christianity and Judaism, candle light symbolizes the light of God. It can also mean the continuation of the life of a spirit after a person passes away.

In the Catholic religion, a traditional candle mass is held annually in the beginning of February. It is meant to symbolize the feast of the purification of The Virgin Mary, or else the presentation of the Lord. During this special mass, Catholics hold lit tealight candles and form a procession around the church.

Tealight Candle Facts and Specs

The average tealight is a small, cylindrical candle. It’s wick is usually fused to the bottom of the candle’s metal casing.

These lights have a burning capacity of two to five hours, and they are marketed for one-time use. They give off a gentle, warm glow which is dimmer than more modern candles.

Though they already come in their own metal casing, tealights usually need to be lit in a larger holder. Today’s tealight holders vary in size, shape, and even material. For instance, this lantern set is purely decorative; it’s meant to enhance the visual appeal of the basic tealight.


What They Are Made Of

Traditionally, tealight candles are made of white, unscented paraffin wax. However, many variations stem from this basic standard.

Soy Candles

A trending topic among health enthusiasts is whether paraffin candles are toxic. Several studies suggest that the chemicals in paraffin can cause cancer if ingested through fumes.

This research is inconclusive at best, but it sparked the creation of the soy-based candle. Though basic tealights are still made of paraffin wax, some are also made of soybean. Those candles are marketed as more eco-friendly and even hypoallergenic.

LED Tealights

Those who enjoy candles but don’t love their flames need not despair: Flameless, LED tealights became available in recent years.

The case for LED candles is strong:

  • They are great for mood lighting
  • They don’t require cleanup
  • They are not a fire hazard
  • They can be used outdoors in nearly any weather

Flameless tealights are ideal to use at outdoor vigils on windy days, for example. The flames won’t burn out, nor will the wick be wasted as it would be with traditional candles.

Tealight Candles In Current Culture

While tealight candles were originally utilitarian and later symbolic, now they’ve taken on another type of importance in popular culture. They are relaxing and romantic. But why are tealights so readily loved by consumers eager to relax and revel in love?

It’s all In the Lighting

There’s no need to spend your last dollars on a five-star romantic candle lit dinner; just buy a bag of tealight candles and recreate the intimate ambience at home.

but why is a candle lit dinner so desirable, anyway? Why does it signify romance?

Tealight candles emit soft and dim lighting. The glow is intense but not too bright.

This type of lighting sets a relaxing mood. Soft candle light can also mimic so-called “bedroom eyes,” since it causes a person’s eyes to dilate. A relaxed mood and bedroom eyes combined equal romance.

Candles In Film

Candles are associated with romance most strongly through film. For instance, the ladies from the 2000’s HBO show Sex and the City would regularly use tealight candles to set the mood for their dates.

That said, tealights are used in film in a more practical and fascinating way these days as well. In the British show Wolfblood, tealights were used as both a prop and a form of lighting for the set. They were used as lighting during all of the nighttime scenes. These casual candles catered to the camera while replicating nighttime darkness.

Ready to Learn More?

Are you ready for more fun facts and tips about lighting and decor?

Don’t stop here; once you take in all of these fascinating tealight candle facts, browse our site for more tips and content. We’re here to inform you about all things home-related, and we want to entertain you with more savvy tips. Come back regularly to browse through our content. We take care to update it regularly.

5 Life-Changing Benefits of Yoga

Practicing yoga can not only improve the strength and flexibility of your body but can also boost your mental wellness. The health benefits of yoga are countless. You can start to see changes just after one session of yoga practice. 

Certain types of yoga, such as vinyasa or yin, have different benefits, but you should expect to see positive changes in your mind or body, no matter what type you do. 

If you’ve been thinking about starting to practice yoga, we’ll go over the top five life-changing advantages of being a yogi. 

1. Burn Calories

While there are gentle types of yoga, certain types can increase your heart rate and burn calories. One of the benefits of hot yoga is the increase in calorie burn. For the average woman, they can burn over 300 calories in a 90-minute Bikram yoga class. 

In a traditional yoga class, you can expect to burn around 183 calories in a 60-minute session. By increasing the heat, you will burn more calories. 

2. Reduces Anxiety and Stress

Studies have shown that yoga can reduce the secretion of cortisol, the major stress hormone. Yoga helps you find inner peace and be present in the moment, working to decrease anxiety and stress. 

Adding meditation practice into your yoga routine can add another tool for managing your stress. You can go through a meditation on your own or book a private, guided meditation class. If that’s something that interests you, have a look at some options. 

3. Increase Balance, Strength, and Flexibility 

The poses you do in yoga stretch your muscles, helping you feel less stiff and tired. It also increases your range of motion. 

Power yoga is a style that is extremely physical, helping those who practice it improve their muscle tone. A lot of the yoga poses that you do in less intense styles help build your upper-body strength. Downward dog and plank pose can help strengthen your shoulder muscles. 

4. Heart Health Improvements

One of the benefits of yoga for women is having a healthier heart. By reducing inflammation in your body, along with lower stress levels, yoga can help reduce the risks of heart disease. 

Daily practice of yoga slows your heart rate and lowers blood pressure. If you are someone that has high blood pressure, heart disease, or had a stroke, practicing yoga regularly will improve your heart rate.  

5. Quality of Life Improvements 

During a yoga session, you will incorporate breathing exercises. Pranayama teaches you how to focus your attention on your breathing, learning how to take deep, belly breaths. Deeper breaths benefit your entire body and can help calm your nervous system. 

By honing in on your mind-body connection, you will gain a better awareness of your body. Being in better touch with your body, you will learn to be more confident. Yoga teaches you how to be more comfortable in your own skin. 

Experience the Benefits of Yoga 

Whether you’re looking to improve your state of mind or incorporate a new exercise style into your routine, the benefits of yoga are countless. You will experience reduced stress, improved flexibility, and an overall improved state of mind. 

For more lifestyle tips, check out one of our other articles. 

How to Buy Baby Clothes on a Budget: 5 Helpful Tips

It should come as no surprise that the baby apparel industry is valued at over $135 billion. This figure is expected to grow even during a global pandemic.

Perhaps the only negative to baby shopping is that apparel is expensive. For a fraction of the size, baby clothes are often more expensive than adult sizes.

The good news is that we are here to teach you how to buy baby clothes. Read on for five essential tips for buying baby clothes on a budget.  

1. Sign-Up Discounts

Many companies offer a generous coupon for signing up for their website. Typically, the company wants your e-mail address in exchange for the discount.

This is an arrangement that benefits both parties. By signing up, the baby apparel story adds you to their digital marketing network. In exchange, you will receive coupons and promotes via e-mail including the sign-up offer.

2. Shop Around

The best way to shop on a budget is to look around. Do not settle for the first cute outfit that you find.

Different companies run promotions at separate times. One retailer may be selling clothes for full price while another is running a huge sale.

By shopping around, you will also find the hottest new styles. Read more here about the hottest styles in baby clothing.

3. Look for Holiday Discounts

The holidays are the best time for retail discounts. Many retailers run huge sales for the major holidays.

Some holidays that come to mind are Thanksgiving and Independence Day. If you plan ahead, you can take full advantage of these great deals.

4. Join Social Media Groups

Social media is a gold mine for baby apparel on a budget. Many parents go over the top with baby shopping.

They receive dozens of new clothes for a newborn. Little do they know that newborns grow out of their clothes in a matter of weeks. The end result is baby clothes that are too small and still have the tag on them.

This is where social media groups come into play. Parents sell brand new clothes on Facebook and other platforms. Since they are second-hand, they come at a fraction of the cost.

Our advice is to find parent groups on social media. Then, be on the lookout for great deals on brand new items.

5. Join Loyalty Programs

Another way to save money at the store is by signing up for loyalty programs. Some stores want you to apply for a credit card to get a recurring discount.

Others allow you to sign up without a financial commitment. Retailers like Target and Kohl’s come to mind for baby clothes rewards.

Here, you gain rewards points by shopping online or in-store. You can eventually use these rewards points to get free items.

How to Buy Baby Clothes Recapped

Buying baby clothes does not have to be expensive. You can find items on the cheap with savvy shopping skills.

Signing up for a social media group or a rewards program goes a long way. These steps make it easier to get clothes on a budget.

If you enjoyed this article about how to buy baby clothes, check out our blog for more great content.

Keep It Clean: Piercings & Infection Prevention

Millennial moms are on the rise!

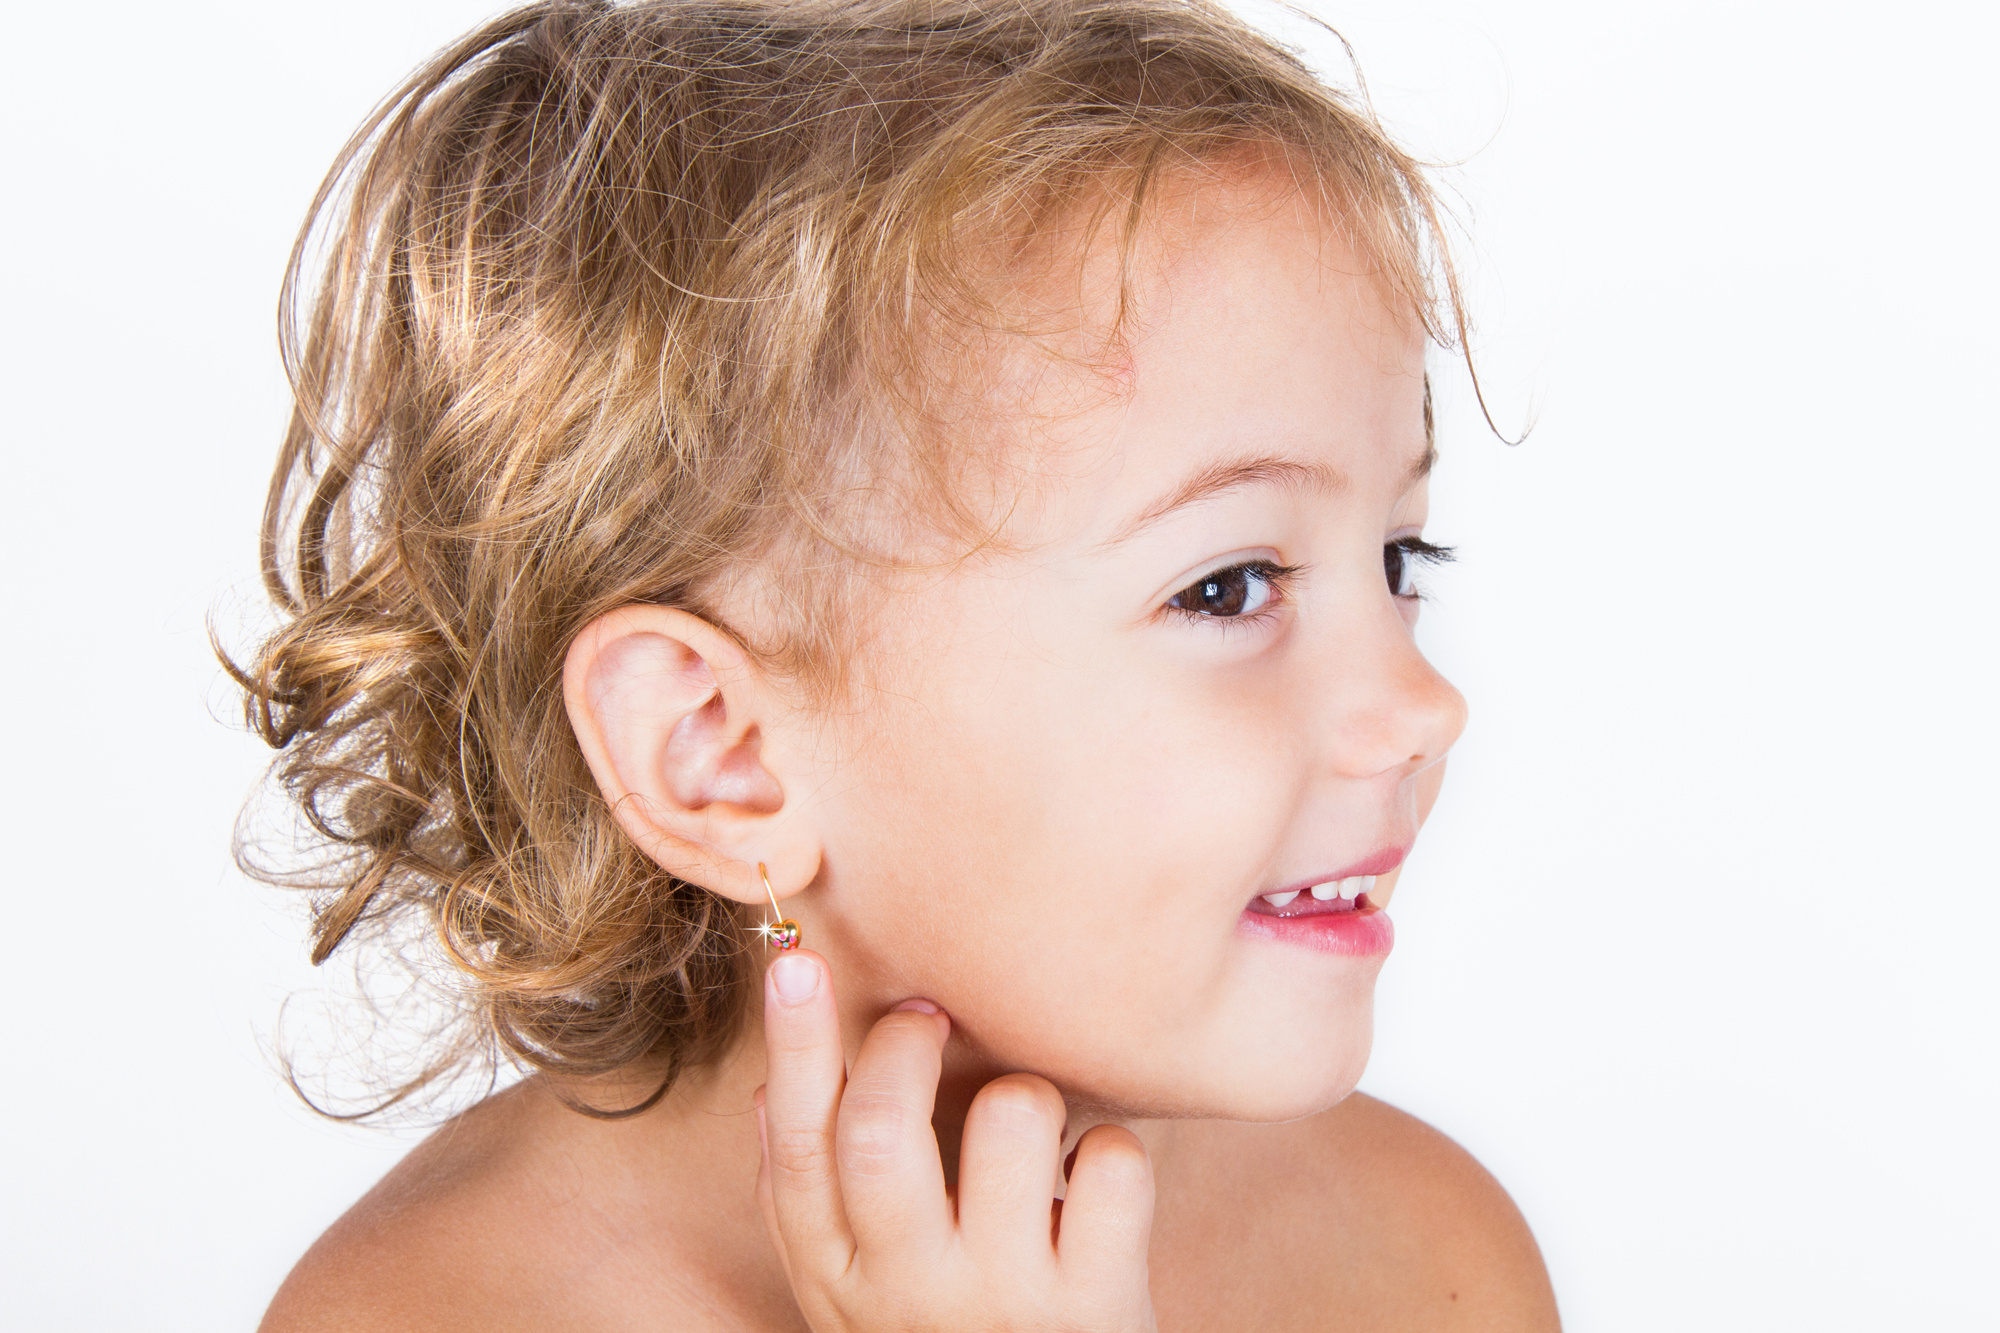
There are around 17 million millennial moms in the United States alone. While getting your child’s ears pierced is an exciting milestone for any parent, it’s extra special when you’re a first-time parent.

To help your child have the best experience possible while also minimizing the risk of infection, we’ve created this complete piercing guide. From learning how to clean piercings to picking a hypoallergenic metal, we’ll tell you everything you need to know.

So take a look! The information you’ll learn in this article will keep your child safe and happy.

What Age Is Appropriate for Ear Piercings?

When is the best time to get your child’s ear pierced? It depends on a few factors. First, it’s always a good idea to check in with your child’s pediatrician before committing to piercings. After getting a green light from your pediatrician, you’ll have to decide what matters to you the most.

Do you like the idea of your child being able to choose whether or not they want to pierce their ears? If yes, we suggest waiting until your child’s 10 years old so that you can have a thorough discussion. Waiting until your child’s older will also make caring for the piercing easier.

Baby Piercings

If you want to pierce your child’s ears while they’re still a baby, wait until they’re at least 2 months old. Why? Around 2 months of age, your child should be up to date on their first round of vaccinations, including the tetanus vaccine.

While there’s almost no risk your baby would get tetanus, it’s better to play it safe. Lastly, if you wait until your baby’s 5 or 6 months old, you could have problems with them pulling at the jewelry.

Go to a Reputable Piercing Company

Once you know what age you want to pierce your child’s ears, you can begin looking for a quality piercing location. Since 35% of the nation supports piercings, you’ll discover there’s a ton of places to choose from.

However, you should start your search by asking your pediatrician if they perform any type of piercing services. While it’s not common, some pediatricians will have on-site staff that can do the piercing for you.

If they don’t provide piercing services, ask your pediatrician for a referral. When all else fails, you can always call up a different pediatrician’s office to ask for their advice on where to go.

Avoid Jewelry Stores

You should avoid going to a jewelry store or mall kiosks at all costs when it comes to ear piercings. First, jewelry stores and mall piercing locations don’t always train their employees on proper piercing procedures.

You could wind up with uneven piercings, or worse unsterile conditions. Another reason to avoid the mall piercings is that they typically use piercing guns rather than needles.

You can thoroughly sterilize a piercing needle, but piercing guns are harder to clean. Lastly, jewelry store employees usually have very little supervision, so it’s more likely a piercing mistake will happen.

Minimizing Pain During Piercings

Next, let’s look at how you can minimize pain during the piercing procedure. Ask your child’s pediatrician to prescribe a topical anesthetic that contains lidocaine derivatives. The anesthetic will gently numb the earlobes to minimize pain.

For the best results, apply a thick layer of the anesthetic about 1 hour before the piercing takes place. If you don’t get an anesthetic, you can also try numbing the area with ice.

About 15 minutes before the piercing, carefully plastic wrap a small piece of ice to each ear. Keep in mind that an anesthetic or ice won’t completely remove the pain. However, these methods can minimize the pain so that it only feels like a tiny pinch.

Best Jewelry Metals for Kids

Once you have a safe location and a way to minimize the pain, you’ll need to pick out the earrings you want to use. On your search for the best kids jewelry, focus on finding hypoallergenic metals.

Here are the top 6 hypoallergenic metals that are kid-friendly:

  1. Surgical stainless steel
  2. Titanium
  3. Niobium
  4. 14K and 18K gold
  5. Platinum
  6. Pure silver

Surgical stainless steel is a great choice because it’s both affordable and hypoallergenic. There are different varieties and grades of surgical stainless steel. However, when it comes to piercings, it’s best to stick with either low carbon or vacuum produced metals.

Next, titanium costs a little more; however, the high-quality material is very durable. The titanium’s biocompatible properties make it easier for your body to accept the metal rather than creating an adverse reaction.

Niobium is also biocompatible, and it has an attractive shine to it. You can find niobium in a wide range of colors, which makes it easier to find the perfect pair of earrings for your child.

Moving on, both 14K and 18K gold are the perfect types of gold for piercings. Unfortunately, there’s a lot of jewelry out there that claims to be gold.

However, it is just gold plated metals that can rub off and cause infections. To avoid getting gold-plated metals, buy the jewelry from a reputable company and verify the karats.

Next, platinum and sterling silver are also great choices when it comes to hypoallergenic metals. Both metals provide an attractive shine and come in all sorts of styles. Lastly, you’ll want to opt for stud earrings so that they’re comfortable for your child to wear.

How to Clean Piercings

The first step will be to prepare your cleaning station with a cotton swab, antibacterial soap, and a bowl of warm water. You’ll want to avoid using things like isopropyl alcohol or hydrogen peroxide since these chemicals can be too harsh for your child’s delicate skin.

The next step towards clean piercings is for you to wash your hands. The CDC recommends washing your hands for at least 20 seconds. While you’re washing your hands, cover every area of your skin, including under your fingernails.

Now that your hands are clean, dip the cotton swab in the warm water, apply soap, and begin swabbing the piercing area. Double-check that the earring backing is secure, and then slowly rotate the earrings.

Everything you do should be slow and concise so you can avoid pushing or pulling on the earrings. You’ll need to clean the piercing site at least 2-3 times a day, or whatever amount your pediatrician recommends.

What Not to Do With Piercings

Whatever you do, don’t take out the ear piercings at any time. The piercings should stay in place for the entire time your pediatrician recommends.

You can expect to wait anywhere from 5-6 weeks before it’s safe to take the piercings out. If you take the piercings out too soon, the holes can close up, or infection can form.

Fidget With the Piercing

Clean piercings reduce the risk of infection, but only if you avoid fidgeting with the piercing area. Avoid touching your child’s ears unless your hands are clean and you’re cleaning the piercing site.

If they’re old enough to understand, let your child know the importance of leaving the earrings alone while their ears heal.

Fit Earrings Too Tight

When the earrings are clasped too tightly, this can also cause an infection. If it appears that the earring backs are pressed tight against the skin, loosen them slightly.

However, be careful not to loosen the backings so much that the earrings fall out. We find that using earrings that have a comfortable clutch or a screw-on clasp work best.

Swimming

Your child should avoid swimming in any body of water after the piercing takes place. This includes lakes, rivers, hot tubs, and swimming pools. 

Rigorous Sports

It’s never a good idea to wear earrings during sports activities. However, it’s even more dangerous after a recent ear piercing.

If sweat and dirt get into the piercing site, it’s likely an infection will occur. However, once the ears are fully healed, the risk of infection goes down.

Signs of an Infection

Of course, your main goal is avoiding infection after piercing ears. However, even if you do everything right, it’s still possible infection will occur. The good news is that by quickly identifying an infection, you can take swift action to protect your child.

Here are the top signs that an infection is forming:

  • Pain at the piercing spot
  • Swelling
  • Yellow discharge at the piercing spot
  • Fever

If your child develops any of the symptoms on the list above, reach out to their pediatrician right away.

Protect Your Child

There you have it! The best advice around for getting your child’s ears pierced. When you take the time to clean piercings the right way, you can greatly minimize the risk of infection.

However, the location you choose to get the piercing done is just as important as keeping things clean. Reach out to your child’s pediatrician today and ask them if they can recommend a reputable piercing location. For more pro tips like these, check out another article.