Want To Win A Brother Sewing Machine?!
May 25, 2016
Giveaways, Sweeps/Instant Win
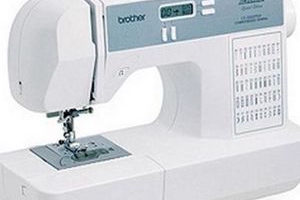
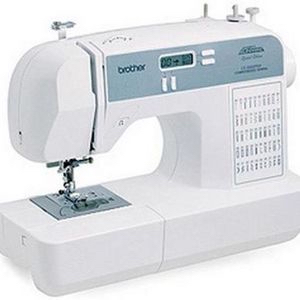
Love to make things? Check out this SEW adorable giveaway! Enter to win a Brother sewing machine! What will you make?
Love to make things? Check out this SEW adorable giveaway! Enter to win a Brother sewing machine! What will you make?
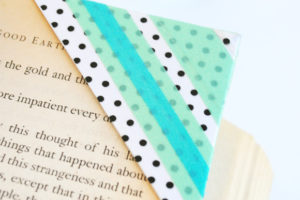
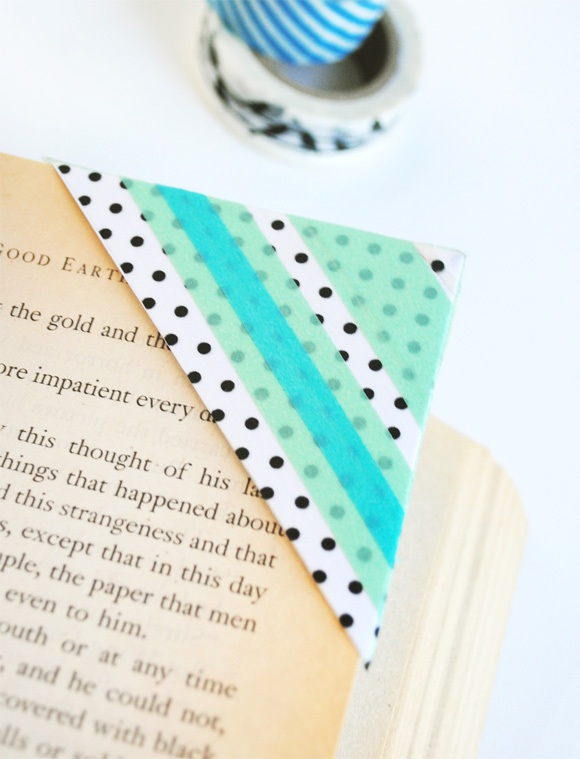
Do you enjoy reading books? I have loved reading from a young age! For years I have dogearred my pages, but this super fun DIY keeps my pages clean and festive now! Follow this simple DIY bookmark. Get creative with your kids and come up with different designs! We would love to see them! Want more DIY ideas, check us out!
Most importantly HAVE FUN!!
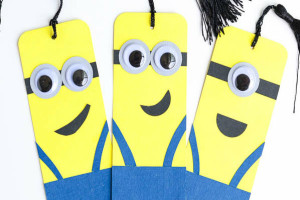

DIY Minion Bookmarks!
Do your kids enjoy the Despicable Me movies? If so, you need to make these DIY Minion Bookmarks! Plus, this would be a great craft to make when your kids are bored this summer. Want to make this craft yourself? If so, be sure to pick up the following supplies:
For additional directions on making this project, be sure to visit the A Pumpkin And A Princess webpage! Let us know what you thought of this DIY. We love to hear from our readers. For additional projects and crafts, be sure to visit our Thrifty Momma Webpage for more.
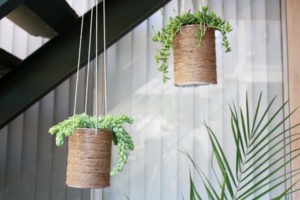

Hanging plants are all the rage these days, right? I love the simplistic look these adorable natural hanging pots! Another great thing about these is that if you don’t have a green thumb (like me), you can put succulents in these pots, either live or fake! Only you would really know! Follow these super simple DIY instructions below to liven up your place!
What you need:
* 2 or more soup cans (cleaned and dry)
* a spool or 2 or twine (any shade is fine, make it personal)
* hot glue works great for this
* a hammer
* a nail
How to make them:
First off you are going to completely clean and dry out your cans. Then you are going to hammer holes into the side of your can near the top opposite from each other, so you can put some string to hang them. Then take your hot glue, twine, and your can. Start at the bottom and dab some glue and place the end of your twine there. You might want to hold it for a second or 2 to make sure it stays. Next you are going to keep doing that while wrapping your twine around the can over and over glue about every other row or every few inches to make sure it won’t come off. You will get the idea as you start working on the 1st one! Once done, go ahead and run some twine through the holes you made earlier with the hammer and nail. Tie twine together to hang. Add dirt and a flower if you are going to live route or some paper, foam, dirt, or whatever if you are going to fake route! If you don’t want to hang them, they are also super cute placed in groups together around the house; in the bathroom, entry table, kitchen table, dresser, or where ever else you would like!
Did you love this fun quick and easy DIY? We would love to see your personal touches on these beauties! Let us know what you thought of these!Check out our other DIY ideas!

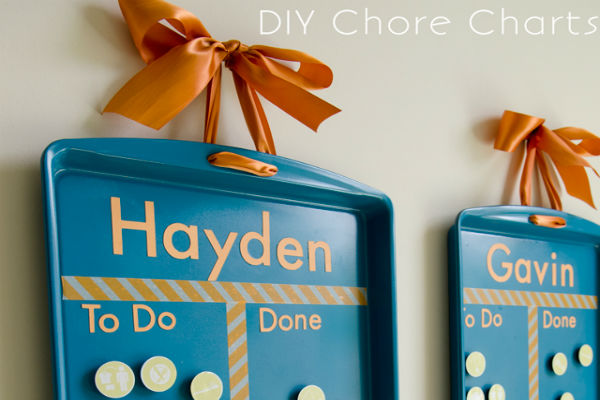
DIY Cookie Sheet Chore Chart!
Do you have any unused cookie sheets at home? If so, did you know that you could make a chore cart with it? Plus, you can sometimes head to your local thrift store and find these cookie sheets for about $1 in good condition. If you do not have kids, you could use this as a magnet board. Isn’t this a fun idea?! You will need the following supplies:
How did your DIY Cookie Sheet Chore Chart turn out? Let us know in the comments below, because we love to hear from our readers. For additional directions on how to make this chore cart, be sure to visit the CraftAholics Webpage!
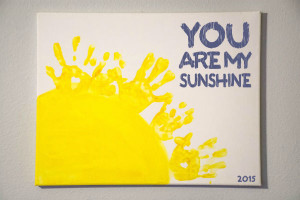

You Are My Sunshine Hand Canvas!
Looking for a fun craft to make this summer with your kids? If so, then you will need to make this You Are My Sunshine Hand Canvas! This would make a great Mother’s Day present as well. My husband recently saw this and made one for me and it brightened up my day! If you’d like to make this art as well, here is what you’ll need:
PS: I’ve found some of these canvas boards at Walmart and Target for around $2-$3, so that price is not terribly inexpensive.
For additional directions on how to make this canvas, be sure to visit the Realistic Mama Webpage! Let us know what you’ve thought of our DIY projects in the comments below. For more project ideas, be sure to visit our Thrifty Momma website.
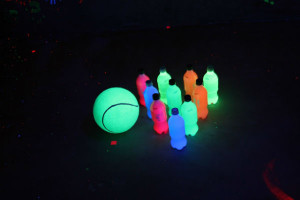
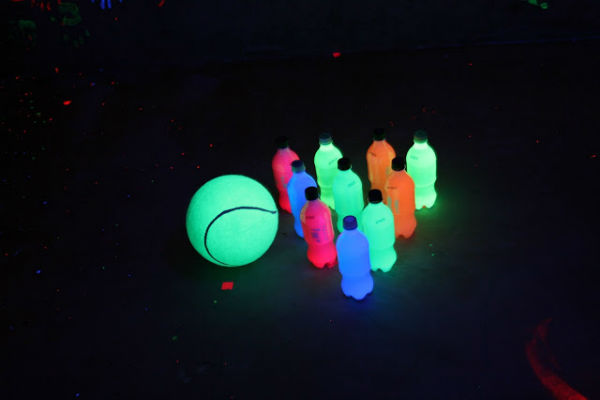
Glow In The Dark Activities! Tons To Choose From!
Have you ever participated in glow in the dark activities? If so, you must! My boys love playing during the warmer months with glow in the dark items like paint, footballs, and more. Plus, there are so many activities that I have not tried yet. If you’d like to do try one of these ideas during the summer with your friends or kids, then check out these fun activities below:
1. Glow In The Dark Slime
2. Glowing Foam Paint
3. Glow In The Dark Football, Basketball, or Soccer Ball
4. Glow In The Dark Water Balloons
5. Glowing Ring Toss
6. Glowing Hopscotch
7. Glow In The Dark Bowling
8. Glow In The Dark Sand
9. Glowing Jars
10. Glow In the Dark Sidewalk Chalk
Let us know what glow in the dark activities you’ve done with your kids, we love to hear from our readers. Be sure to visit the links above for directions on how to make these activities.
Thanks to Paging Fun Moms, The Scrap Shoppe, Our Little Women, Momma Did It, Just Between Friends, Growing a Jeweled Rose, From Pank With Love, for these DIY projects!