Tag: craft

Vicks Vapor Rub Shower Disks DIY! Great For Helping With The Flu!

disk

Vicks Vapor Rub Shower Disks DIY! Great For Helping With The Flu!

I am pleased to announce that I’ve done this DIY project and it is amazing! Make these Vicks Vapor Rub Shower Disks and save them when you or your family have a sickness like the flu. From experience, I love using these shower disks when I have body aches from working out as well! You’ll need:
Baking Soda, cornstarch, Vicks (Can use baby Vicks for a more gentle smell), water, and Mold tray (ice cube, chocolate).

How did you think of this DIY project and how did yours turn out? Let us know, we love to hear from our readers! For additional directions on how to make these shower disks, visit the Our Kids Mom Webpage!

DIY Pallet Coffee Rack!

DIY Pallet Coffee Rack!

The wood pallet has revolutionized decorating recently.  Here is just one of the many ideas that you can find swarming around the internet and decorating homes.  This is a coffee mug rack that is super simple to make.  Scroll down for more instructions.  If you make this I’d love to see a picture!

coffee

Materials and Equipment:

  • Pallet
  • Hooks and screws
  • Paint, letter stencils, sponge brush (Optional
  • Sandpaper
  • Right angle ruler
  • Ruler or tape measure
  • Pencil
  • Safety glasses
  • Circular Saw
  • Cordless Drill
  • Screwdriver
  1. This is a fourth of the pallet, so first decide which fourth has the best-looking wood.
  2. Mark where you want to cut using a pencil and right angle ruler.
  3. Next cut along your pencil markings using a circular saw. ****Make sure to wear safety goggles**
  4. First, a couple of notes:

    (1) You may want to power wash your pallet before you dive into this project since you’ll be hanging things that you drink out of on it!

    (2) I added the COFFEE detail on the top, but this is obviously optional! The top board was longer, so I decided to add some words instead of hooks.

  5. Once you have your mini pallet, sand it down! How much you sand is up to you, but make sure it is smooth enough that you won’t get splinters when you hang up your coffee cups.
  6. Next I painted COFFEE on the top. I used letter stencils and a sponge brush. I’m really happy with how it turned out! (Sorry I didn’t get a picture while I was doing it!)
  7. Putting on the hooks was probably the most difficult part. Use a ruler (or tape measure) and pencil to mark exactly where you want the hooks to go, then drill them in. My hooks weren’t totallyeven, but once we hung the coffee cups you could hardly notice!
  8. Lowes sells these hooks for $1.50 each.

Here are a few additional facts and tips:

  1. The final “mini pallet” is 20.75″ x 25″. The top board is 5.5″ and the other 3 are 3.5″ tall. The stencil letters I used are 3″ tall.
  2. Here are a couple of pictures of how we hung it up. As I mentioned in the comments, we kept one of boards on the back of the pallet and rested that on two nails in the wall.

If you are wanting more wood pallet crafts click here to find 23 Awesome DIY Wood Pallet Ideas !!

Thank you, littlebirdblog!


MAKE A FURRY STOOL (WITH GOLD LEGS) IN MINUTES!!

Stool

MAKE A FURRY STOOL (WITH GOLD LEGS) IN MINUTES!!

It’s INSANE how easy this stool is! And could save you so much money.

Supplies:

– round 15″ wood board
– gold spray paint
– midcentury 16″ legs (4)
– angled leg plates (4)
– furry material
– staple gun and long staples

Head over to A Beautiful Mess to see the next steps.

Felt Christmas Stocking Ornament Pattern & Instructions!

stocking1

Felt Christmas Stocking Ornament Pattern & Instructions!

Here is a cute pattern to make your own Christmas Stocking ornaments HERE!

Print out the pattern HERE

Thanks to Debbie Colgrove on About.com for picture and ornament instructions & pattern

Bev Kimball uses them for all her past fur babies. She says you can also stuff the stockings, and scallop the bottom edge of the white felt in a new way for each one to make them look a little different from each other.

Fun Crafts Repurposing Cottonelle Toilet Paper Roll Tubes


I participated in a campaign for Mom Central Consulting, on behalf of Cottonelle, and received product samples and a promotional item to facilitate my party. All opinions are 100% mine.

I was thrilled to receive this wonderful package of  Johnathan Adler Cottonelle Tissue Roll Covers. I hosted a fun party where I invited several friends and their children yesterday. We made easy and fun crafts repurposing Cottonelle bath tissue paper tubes for both the kids and the adults. The kids mostly wanted to make binoculars out of the toilet paper roll tubes. It’s a very inexpensive craft for the kids to do, and adults make sure to punch the holes so the kids can tie the yarn. These are great projects to teach the kids about recycling just in time for Earth Day.

Photobucket

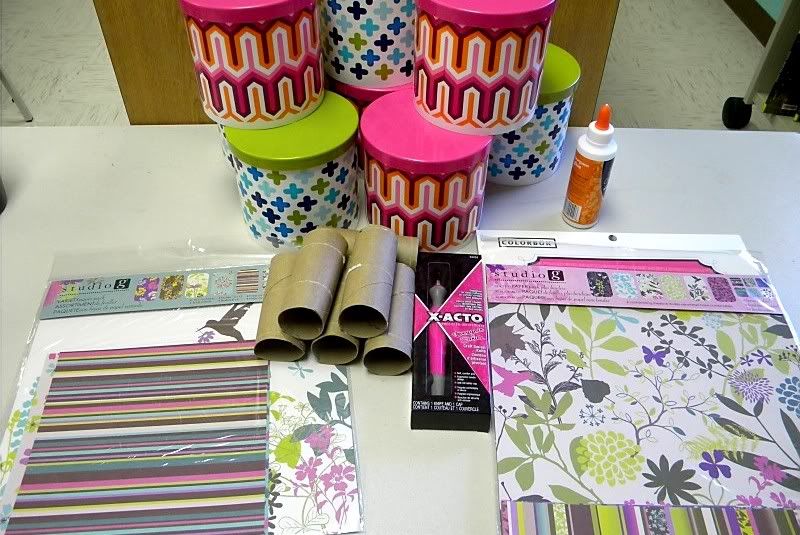
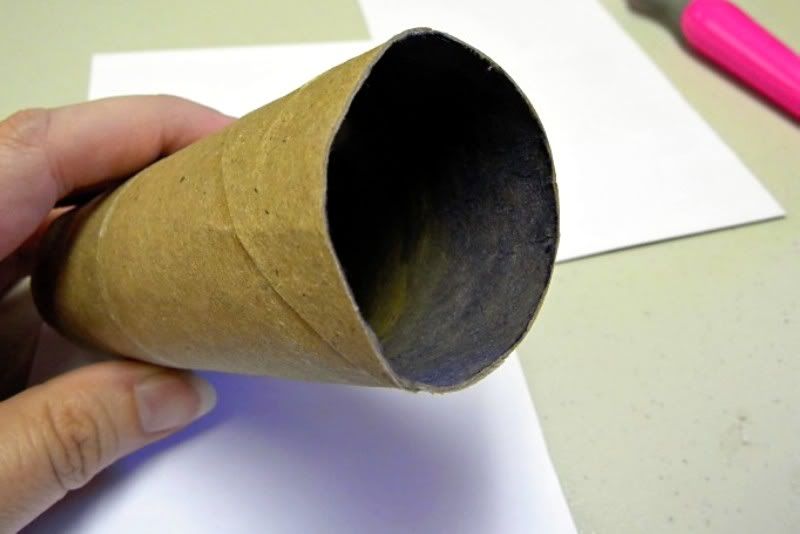
I also wanted something for the ladies to be able to do instead of just children centered crafts. We made pencil holders out of the toilet paper tubes. I bought a couple of packs of scrapbook paper which was very inexpensive at 99 cents a pack! I also purchased card stock to use for the bottom. I did not want to use acrylic paint as it would take too long to dry. At first we used a marker to color the inside top portion, but then one of my friends suggested we use a piece of card stock to reinforce the inside of the tubes. It worked perfectly.
Photobucket.

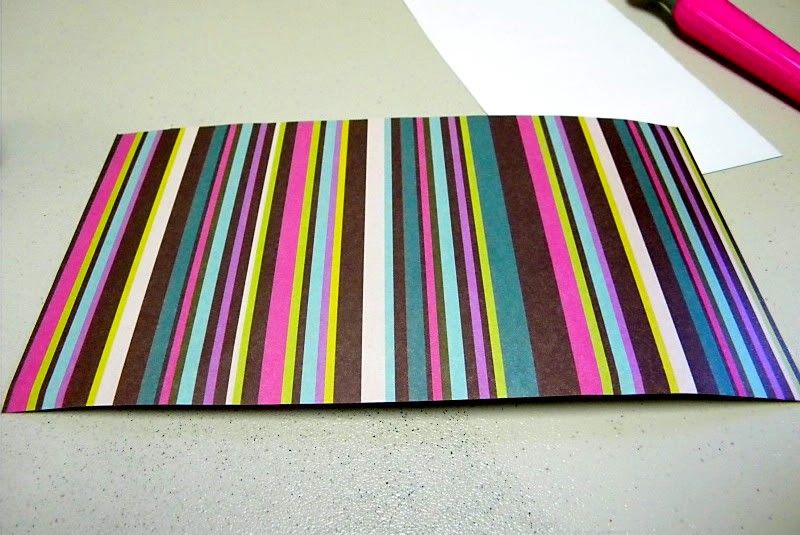
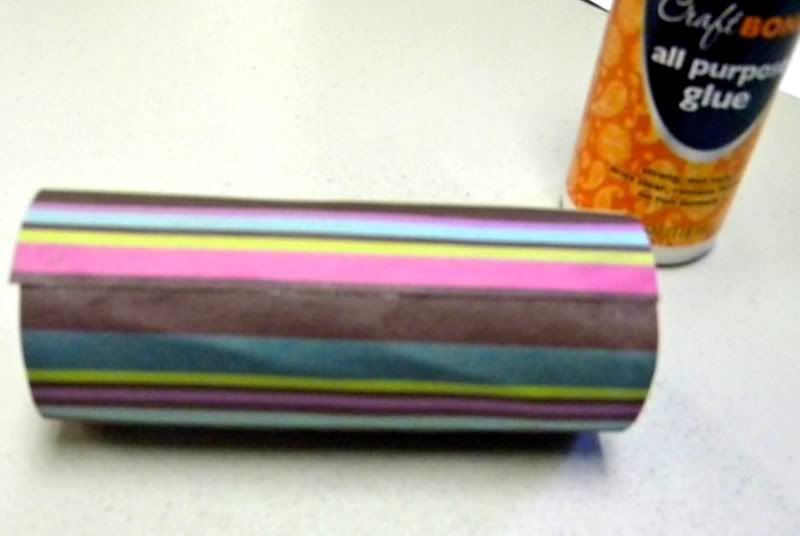
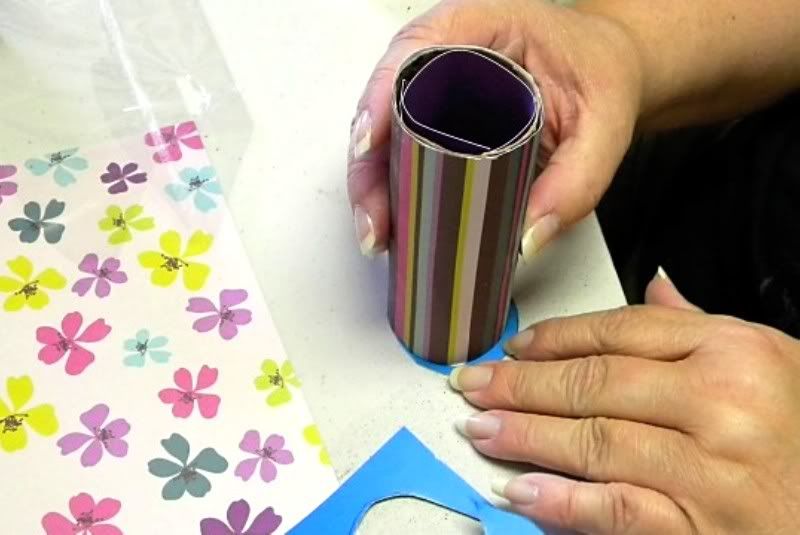
Next we cut out the strips in half to roll the tube with and used craft glue. Slowly roll the tube and make sure to keep it smoothed while rolling so it doesn’t create bubbles.
Photobucket
Photobucket

At the end of the rolling, you will need to reinforce the ends. I used some more craft glue and wiped off the excess. There isn’t any glue after it dried. It was much cheaper than using mod podge.

Photobucket

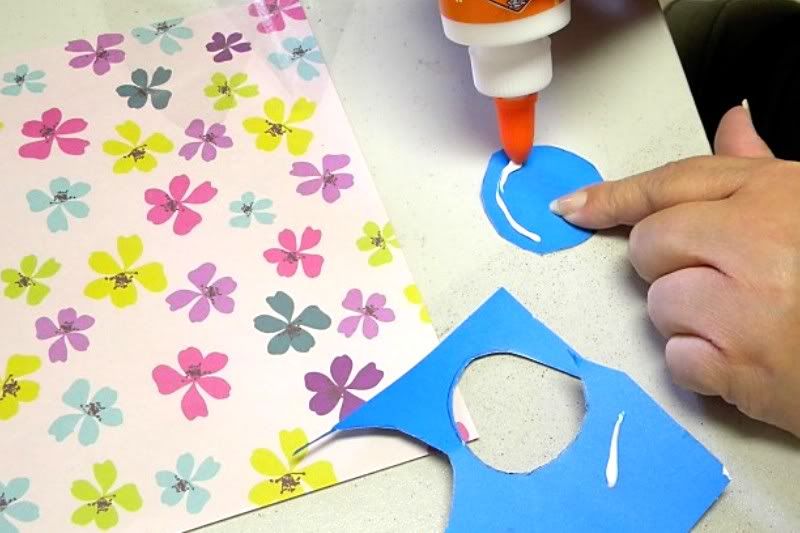
Next we cut out a circle of blue cardstock. You want the circle to slightly larger than the tube. My friend is gluing on the bottom to the tube. We also used purple card stock and rolled it up in the inside of the tube.

Photobucket


Photobucket


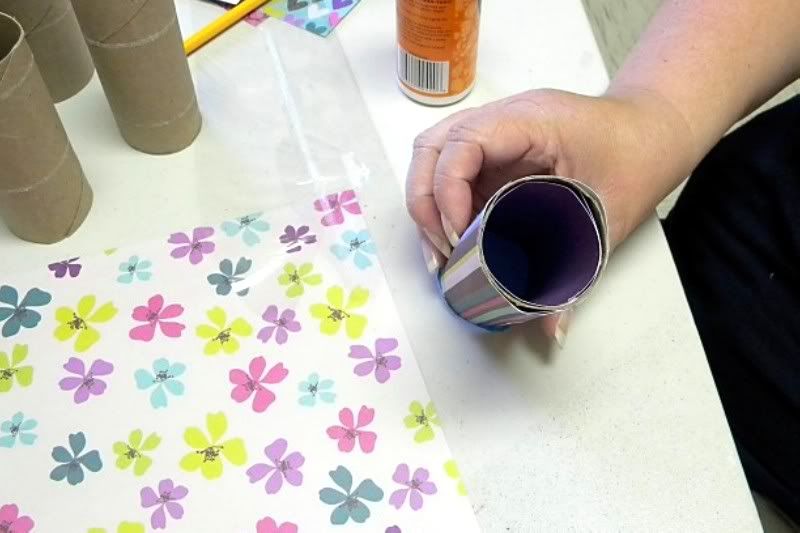
You can see the inside and it was very strong after we let them dry.

Photobucket

Here is the finished product. Each lady made a different one. It was a lot of fun.

Photobucket

Photobucket
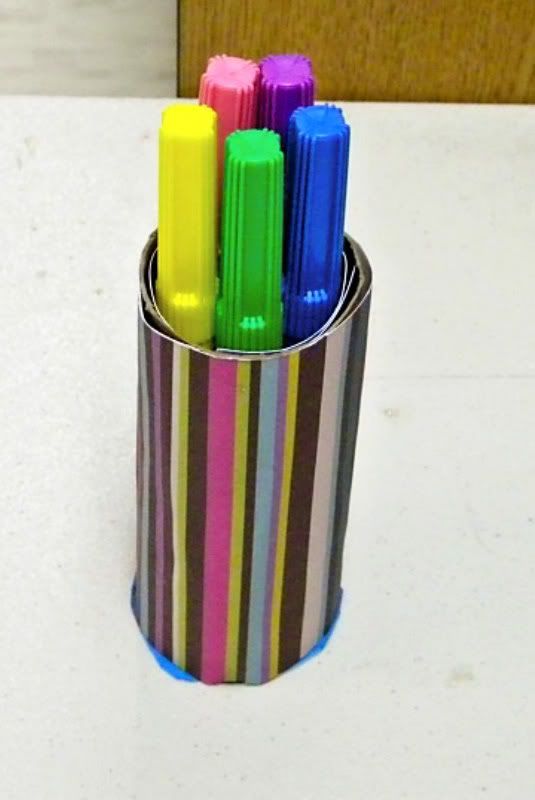
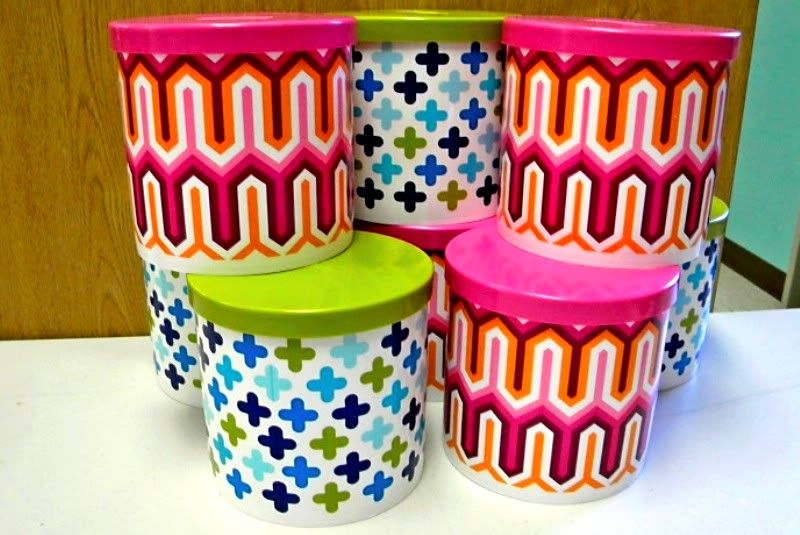
Each lady left with a Johnathan Adler Cottonelle Tissue Roll Cover. One of the ladies is using hers to store her daughter’s hairbows and ribbons. Another one is using hers to store her cotton balls. The uses for these great and colorful roll covers are endless.

What will you make by repurposing toilet paper roll tubes?