Saint Patrick’s Day Treat! Lucky Charms Cupcakes Recipe!
February 24, 2016
Crafts, DIY, Family Life, Recipes
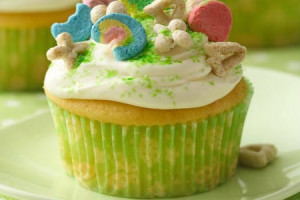
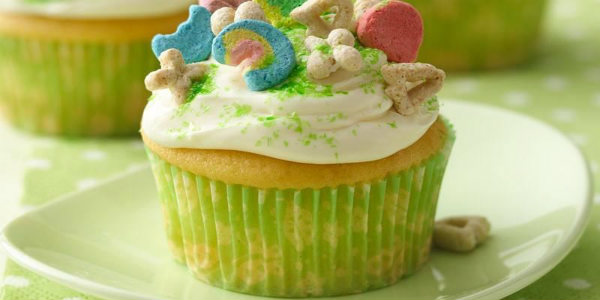
Lucky Charms Cupcakes Recipe!
Need some recipe inspiration for Saint Patrick’s Day on March 17th? If so, check out this Betty Crocker Lucky Charms Cupcakes Recipe! My family loves Saint Patrick’s Day and we always celebrate with fun recipes all week long. We made this exact recipe last year and loved it! Ingredients:
- 1 box Betty Crocker SuperMoist yellow or devil’s food cake mix
- Water, vegetable oil and eggs called for on cake mix box
- 1 container Betty Crocker Rich & Creamy vanilla frosting
- 3 cups Lucky Charms cereal
- Green edible glitter
Let us know how your recipe turned out, we love to hear from our readers. For additional details on how to make this festive treat, click here!