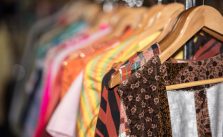
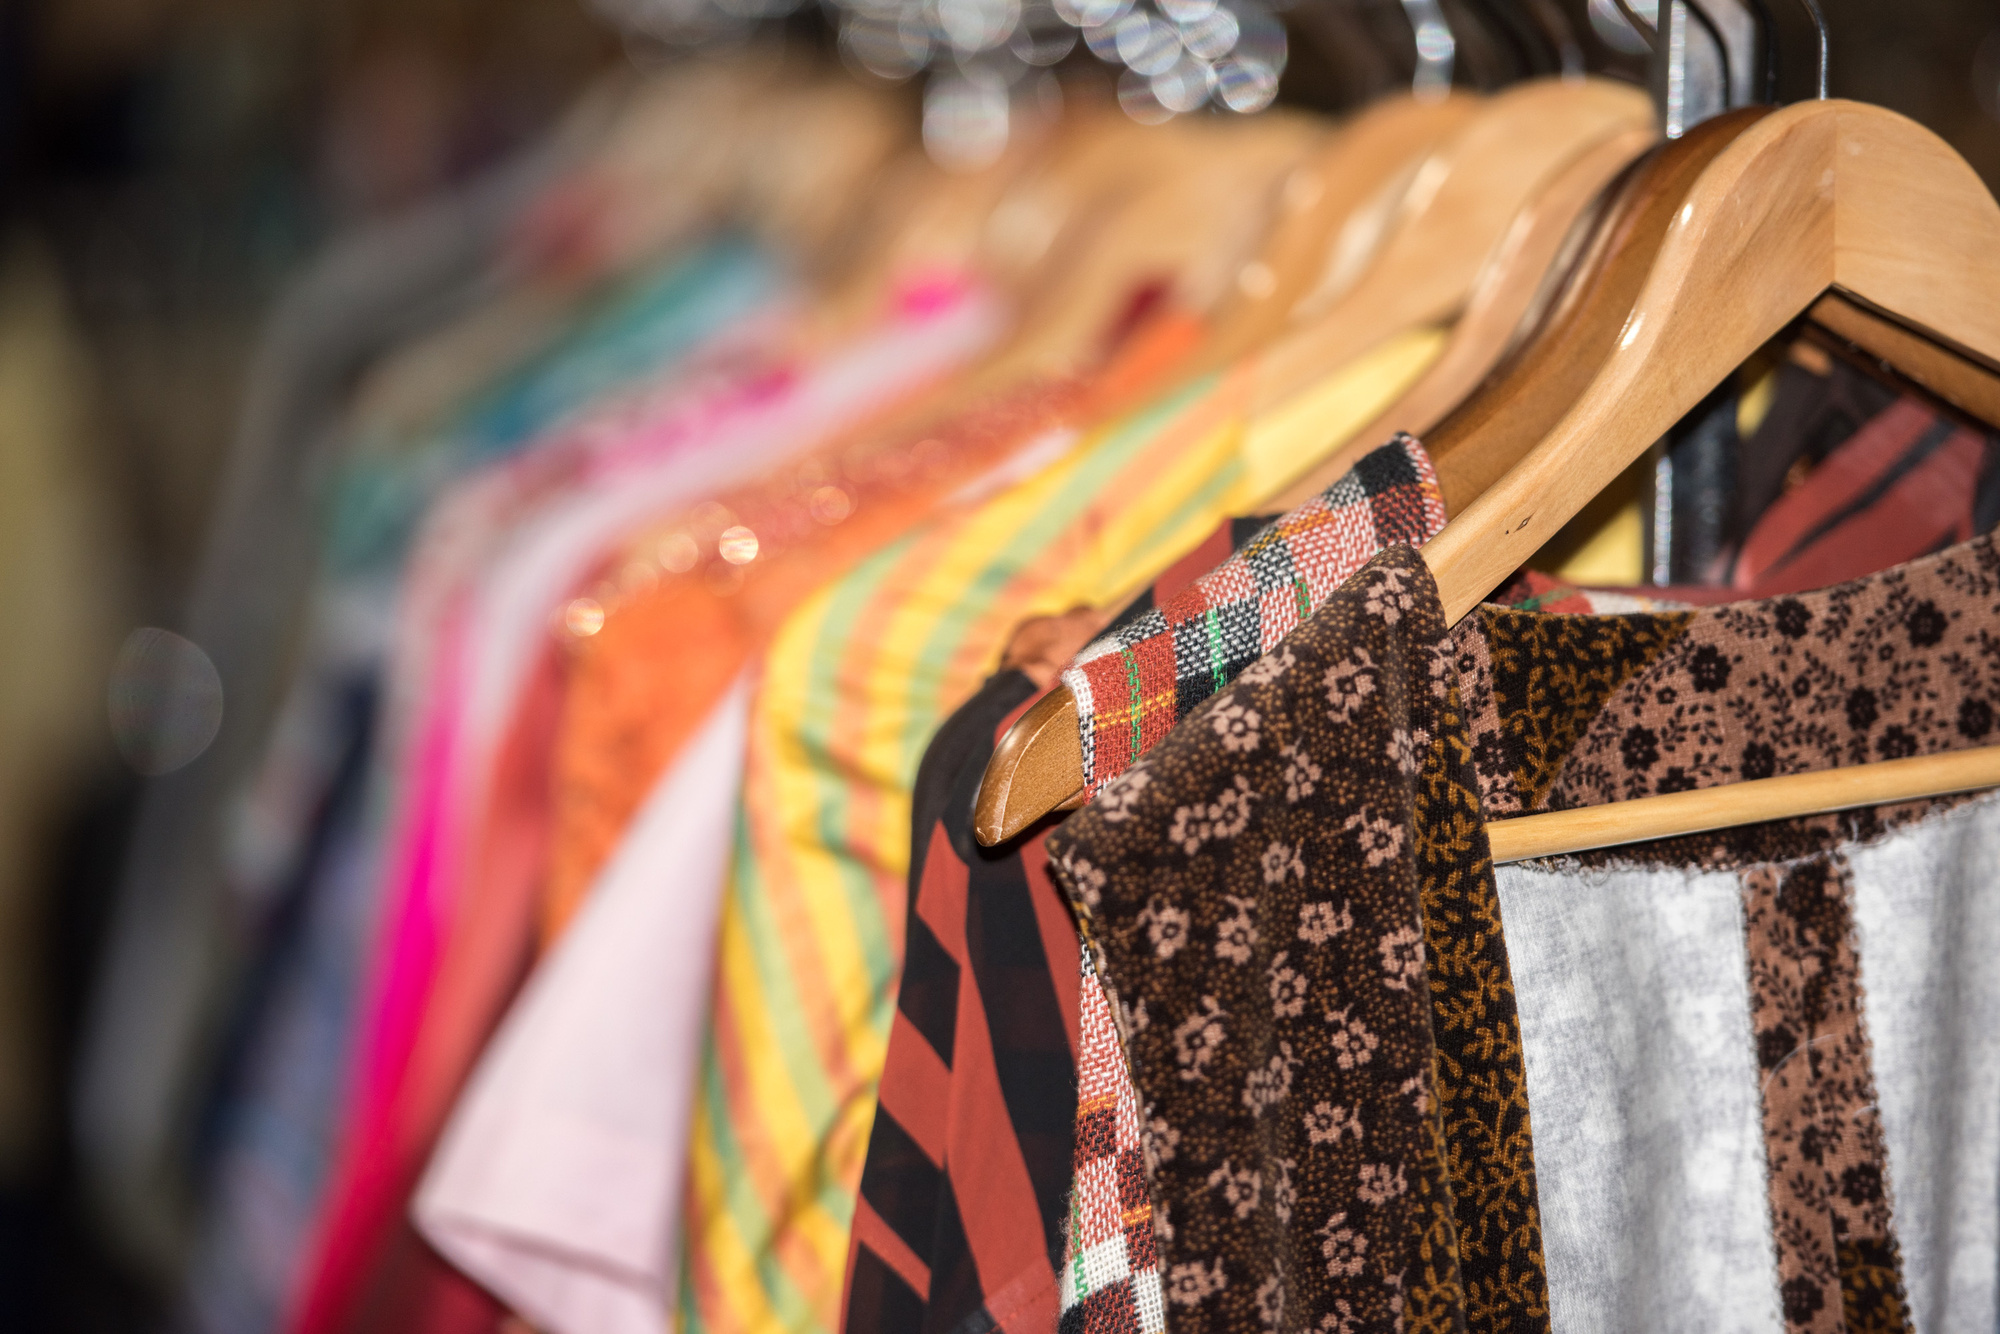
Thrift stores can be a gold mine for unique, one-of-a-kind clothing.
But if you want to take it a step further, follow our tutorial on using clothing from a thrift store to make a custom quilt.
You’re just 5 easy steps away from a vintage bedspread, a fashionable throw, or even a picnic blanket made from thrift store clothing!
Step 1: Plan Your Quilt
Ask yourself a few questions to help you plan your quilt?
- What do I want to use this quilt for? A bedspread, picnic blanket, throw blanket?
- How big does it need to be to serve its purpose?
- What size do I want the quilt squares to be and how many do I need?
- What color or theme do I want my quilt to have?
Once you’ve answered these questions, you’ve got a basic quilt plan and you’re ready to start shopping!
Step 2: Shop for Clothing From a Thrift Store
This is the fun part! Once you’ve chosen a theme it’s time to go shopping.
You’ll be able to tell about how many quilt squares you’ll get from one article of clothing. But we recommend buying a little bit more than you think you’ll need just in case you need a few extra quilt squares.
Pro Tip!
It’s a good idea to select pieces of clothing that have similar care instructions. Choose fabrics that can all be washed and dried according to your preferences so you don’t encounter any unforeseen shrinking or stretching.
Also, remember to wash all of your thrift store clothing thoroughly prior to beginning quilt construction.
Step 3: Construct the Quilt Top
Once your thrift store clothing has been washed you’ll take each piece and cut as many equally sized squares from each piece as you can.
When the squares have all been cut lay them out in the pattern that you’d like your quilt.
Use a sewing machine and a straight stitch to sew the squares together. Keeping the right sides of the squares together begin to sew each row. Once all your rows have been sewn, combine your rows by keeping right sides together.
If you’re new to sewing or quilting here’s a helpful youtube tutorial on constructing your quilt top.
Step 4: Quilting
Most quilts consist of three main pieces:
- A Quilt Top: The decorative, front piece of the quilt. This is what you’re thrift store clothing will make.
- Batting: A flat sheet of stuffing that goes in between the quilt top and back. This gives thickness and warmth to the quilt.
- A Quilt Back: Usually a solid piece of fabric that matches the quilt top. We recommend using a flat sheet and cutting it to size. It’s a cost-effective way to purchase a large piece of fabric. You’ll also avoid seams in your quilt back.
You’ll want to layer each piece one on top of the other and then pin them securely into place. Once they’re pinned together you can sew or quilt the pieces together by hand or use a sewing machine.
A basic quilt stitch goes around each quilt square to secure it in place.
Step 5: Binding
Now that your quilt front, batting, and quilt back have been quilted together you’ll need to finish the outside edge of the quilt. This is called binding.
There are various binding techniques and patterns. For this project, we recommend using a blanket binding in a color that matches your thrift store finds.
Satin blanket bindings create a clean, finished edge. It adds a soft and luxurious feeling finish to your quilt.
To attach the binding, simply fold it over the outside edge of the quilt and sew a single stitch. Here’s a helpful youtube tutorial on sewing satin blanket binding if you need a little extra guidance.
You Did It!
Your quilt is finished! Now that you’ve successfully made a quilt using clothing from a thrift store, see what other creative projects you can do by re-purposing old clothes.
Read Next: Sewing Clothes for Beginners: How To Make Your Own Simple Dress
See our craft feed for more DIYs and project inspiration!