This is a simple and creative way to DIY canvas art for your house. The directions that follow are fool proof, straight forward, and will hopefully guide you to successful art. If you do this, take a picture and send it to me via Facebook message. I always enjoy your feedback and hearing from my followers!
Supplies:
- A pre-stretched canvas
- Masking Tape
- Assorted small acrylic paint colors
- Brushes
Instructions:
- Paint 2 coats of a base coat on your canvas. Be sure to paint the edges. Next up,
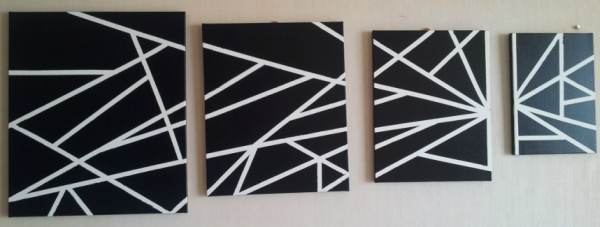
- After base coats are dry start taping. Use masking tape.
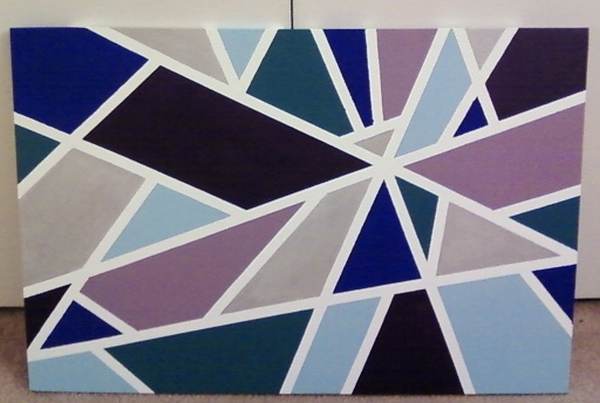
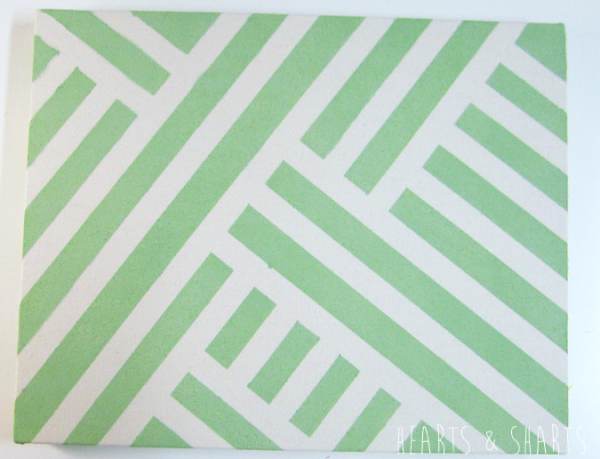
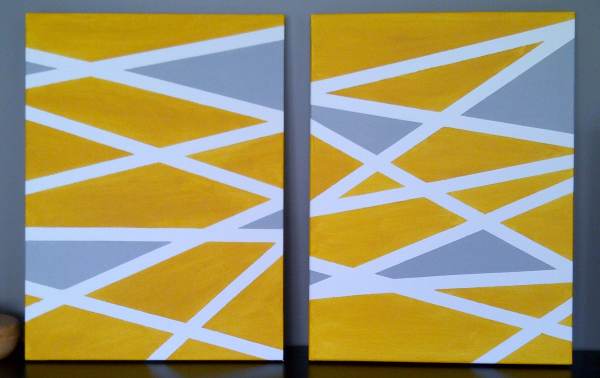
- Drape the tape back and forth, cross the canvas. Anything you like. Make angles to get lots of interesting shapes. If you choose to do only vertical & horizontal, you’d get a nice clean square & rectangle effect too.
- Make sure to really rub the tape onto the canvas.
- Paint the same base color over the tape. This prevents any potential leaks in your tape job will be the same color as the base. Let dry for about an hour.
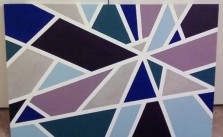
- Start to fill in the geometric shapes with the other colors of acrylic paint you have selected.
- Paint two coats of each color, allowing dry time in between.
- Once it’s completely dry, start gently pulling your tape.
- When you pull tape, you want to pull completely backwards, parallel to the canvas so it really tears any spots where they paint may have wanted to stick.
To get great color combination ideas google “color palette ideas” and it will help you think outside of the box!