During the coronavirus pandemic, more people than ever tried DIY beauty at home. For those who got weekly manicures and pedicures at a nail salon, it was a whole new world learning how to do their own nails properly.
Many people learned that doing this at home and by yourself can actually be a very fulfilling and relaxing experience.
Sure, you may miss the salon, but you can get very creative, stay safe, and save a ton of money when you DIY.
So, how do you DIY a french manicure? This timeless manicure technique may be a bit tricky, but you can be a master in no time by following the steps below.
Grow Your Nails
French manicures look much more striking when they are longer. If you recently cut your nails very short or have a habit of chewing them, you may want to wait a little bit until you have a good amount of nail area grown in to work with.
Because a french manicure is all about the tip, having short nails can cause the look to come across as more stubby than elegant.
If you have trouble growing your nails, consider using a nail polish that is strengthening. This can help harden your nails so they have an easier time growing in without breaking off.
Clean It Up
Before you begin any manicure, you want to make sure you clean up your nails. Remove any traces of old nail polish, and clean out from under your fingernails.
Make sure to wash your hands afterward. French manicures, in particular, are all about a clean look, so it’s essential to start with a clean nail.
Do a Shape up
Getting the right shape is essential for the perfect french manicure. Generally, for a classic french manicure, you want to go for the short square shape.
Just try to avoid broken edges so your lines stay symmetrical. To achieve this, file the tips of your nails into straight lines.
After, gently file down the edges of your nails into natural curves. If you did this correctly, your nail shape would almost mimic the shape of your cuticles.
If it is too squared or curved, it will look off when you apply your french tips. Try to get it straight with a soft curve, and don’t be afraid to reference pictures to help guide you.
Buff the Nail Plate
Buffing your nails is an important part of any manicure, as it helps the nail polish last longer. It also improves circulation to your nails, so it can help your nails strengthen and even grow faster.
There is a common misconception that buffing your nails is harmful, but this is only if it is done improperly.
In fact, there are so many different benefits of buffing your nails that it should be done with every manicure.
You can find different nail buffers for sale online, usually ranging from $5 – $20.
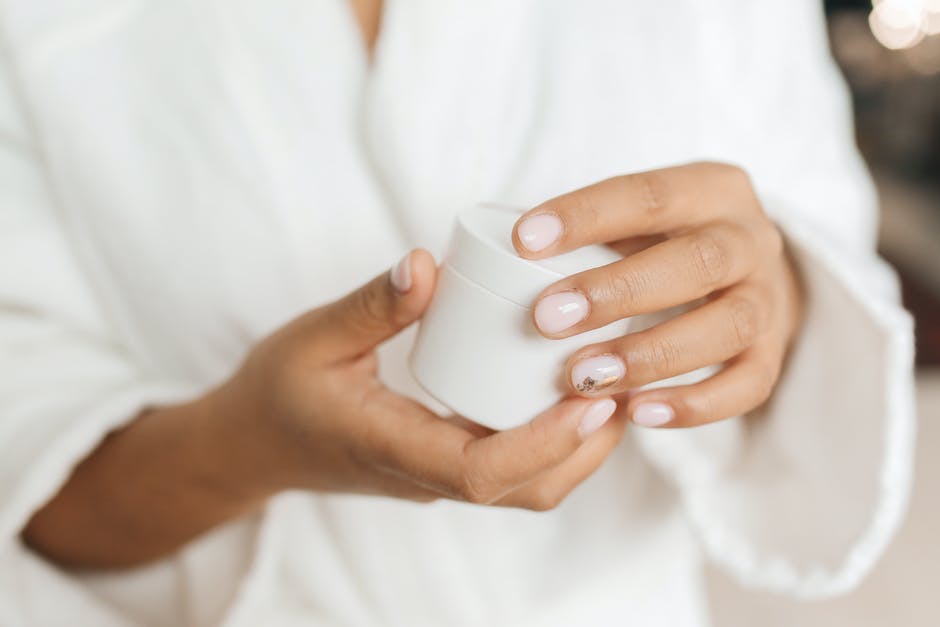
Don’t Forget to Hydrate
After you buff your nails, soak them in a cuticle oil for a few minutes.
Then, push back your cuticles and exfoliate your hands with a body scrub. Lastly, apply a hand cream to lock in the moisture.
Before the next step of applying the base, apply nail polish remover on your nails to remove any hand cream, to prepare them for the polish.
Use a Base
If you’re wondering why most manicures at a nail salon last longer than DIY manicures, it’s because they don’t skip the base coat.
You’re going for a natural nail base coat, so it doesn’t have to be too fancy. Just choose something that will protect your nails and keep the polish shining as long as possible.
Make sure your base coat is dried thoroughly before going on to the next step.
Try Guide Strips
One of the most useful DIY french manicure hacks is the use of guide strips.
French manicure guide strips make it much easier to achieve that perfect tip because it prevents you from getting the polish anywhere else.
You can buy pre-made guide tips, which are a half-moon shape. You can also make these guide strips using regular tape, as the process is the same.
Simply press the guide strips or tape on your nails, leaving the tips of your nails exposed. Press it down firmly, and begin applying thin layers of paint on the tape and over your exposed tips.
Continue until you have the proper amount of coverage, and then carefully peel and remove the tape or guide strips.
Consider a Brush
If you’re wondering how to do a french manicure without guide strips, don’t worry, it’s not impossible.
If you want your nails to appear longer, allow the polish to curve with your natural nail. Use a fine brush and start from where your nail tips begin growing, then make a curve from the edge to the other side.
Once these curves are connected, create the line at the edge to finish it off.
To perfect these curves, keep the brush still and roll your nail for the best line. Hold your brush between your thumb and middle finger and rest your forefinger on the cap to get the best grip.
Apply the Sheer Pink Shade
Now that you applied the classic french tips, you can finish it off with the sheer pink shade. This will make your french manicure look more natural and will cover up any imperfections that might have occurred.
It will also hide any yellowing of the nails and will make the manicure look even more professional.
Finish With a Topcoat
Just like with the base, a topcoat is essential for protecting your hard-earned french manicure. Once the rest of your creation is dried, apply a thin layer of protective and shiny topcoat.
This will allow your manicure to last a lot longer, which you’ll definitely want after all the time you have put into it.
Perfect the DIY French Manicure
Now you know how to DIY a french manicure, so what are you waiting for? Gather your supplies and start practicing!
It may take a few tries, but soon you’ll be able to experience the classic french manicure anytime you’d like.
If you’re looking for more DIY tips, browse through the DIY section of our blog today!