More than 95 million photos are uploaded to Instagram each day. Some estimates say that the number of digital photos taken each year is in the trillions.
Digital photography has come a long way over the years. Google and other smartphone makers continue to push the envelope to make smartphones better than professional camera equipment.
Canon, Nikon, and Sony are keeping up. All of these companies enhance the software of the camera. One of the areas that’s seen the most growth is HDR photography.
You’ve probably seen HDR photos and not realize it. If you want to give your photos a stunning look that’s worthy of a lot of likes on social media, keep reading.
This guide shows you everything you need to know about HDR photography.
What Is HDR Photography?
HDR stands for High Dynamic Range. It allows photographers to capture several images of the same thing, then merges the images into one photo.
The photos get taken at different exposures, one light, medium, and dark exposure. This lets photographers capture an image with more detail and
You can create an HDR image with as little as two images or as many as nine. It depends on how mush storage space you have and your camera’s settings.
When to Use HDR Photography
HDR photography was insanely popular several years ago. People saw this new setting on their cameras and they wanted to experiment with it.
The problem is that most don’t know the basics of photography, so good images were made awful because the technology was misapplied.
HDR photography is great for landscape and architectural photography. You’re able to capture small details of a scene because you’re able to shoot at different exposures.
It’s also used by some professional photographers in food, fashion, and product images. Discover more here to learn about these areas of photography.
A dark exposure captures shadows, while a light exposure creates a brighter image. Medium exposures capture colors.
When should you avoid HDR photography? Don’t use it for areas of photography that have a lot of movement, unless that’s what you want from the image.
For instance, expert photography in sports requires that images are sharp and capture the most intense moments. Since you take several photos with HDR photography, the subject won’t be still long enough to capture and merge the images into one clean image.
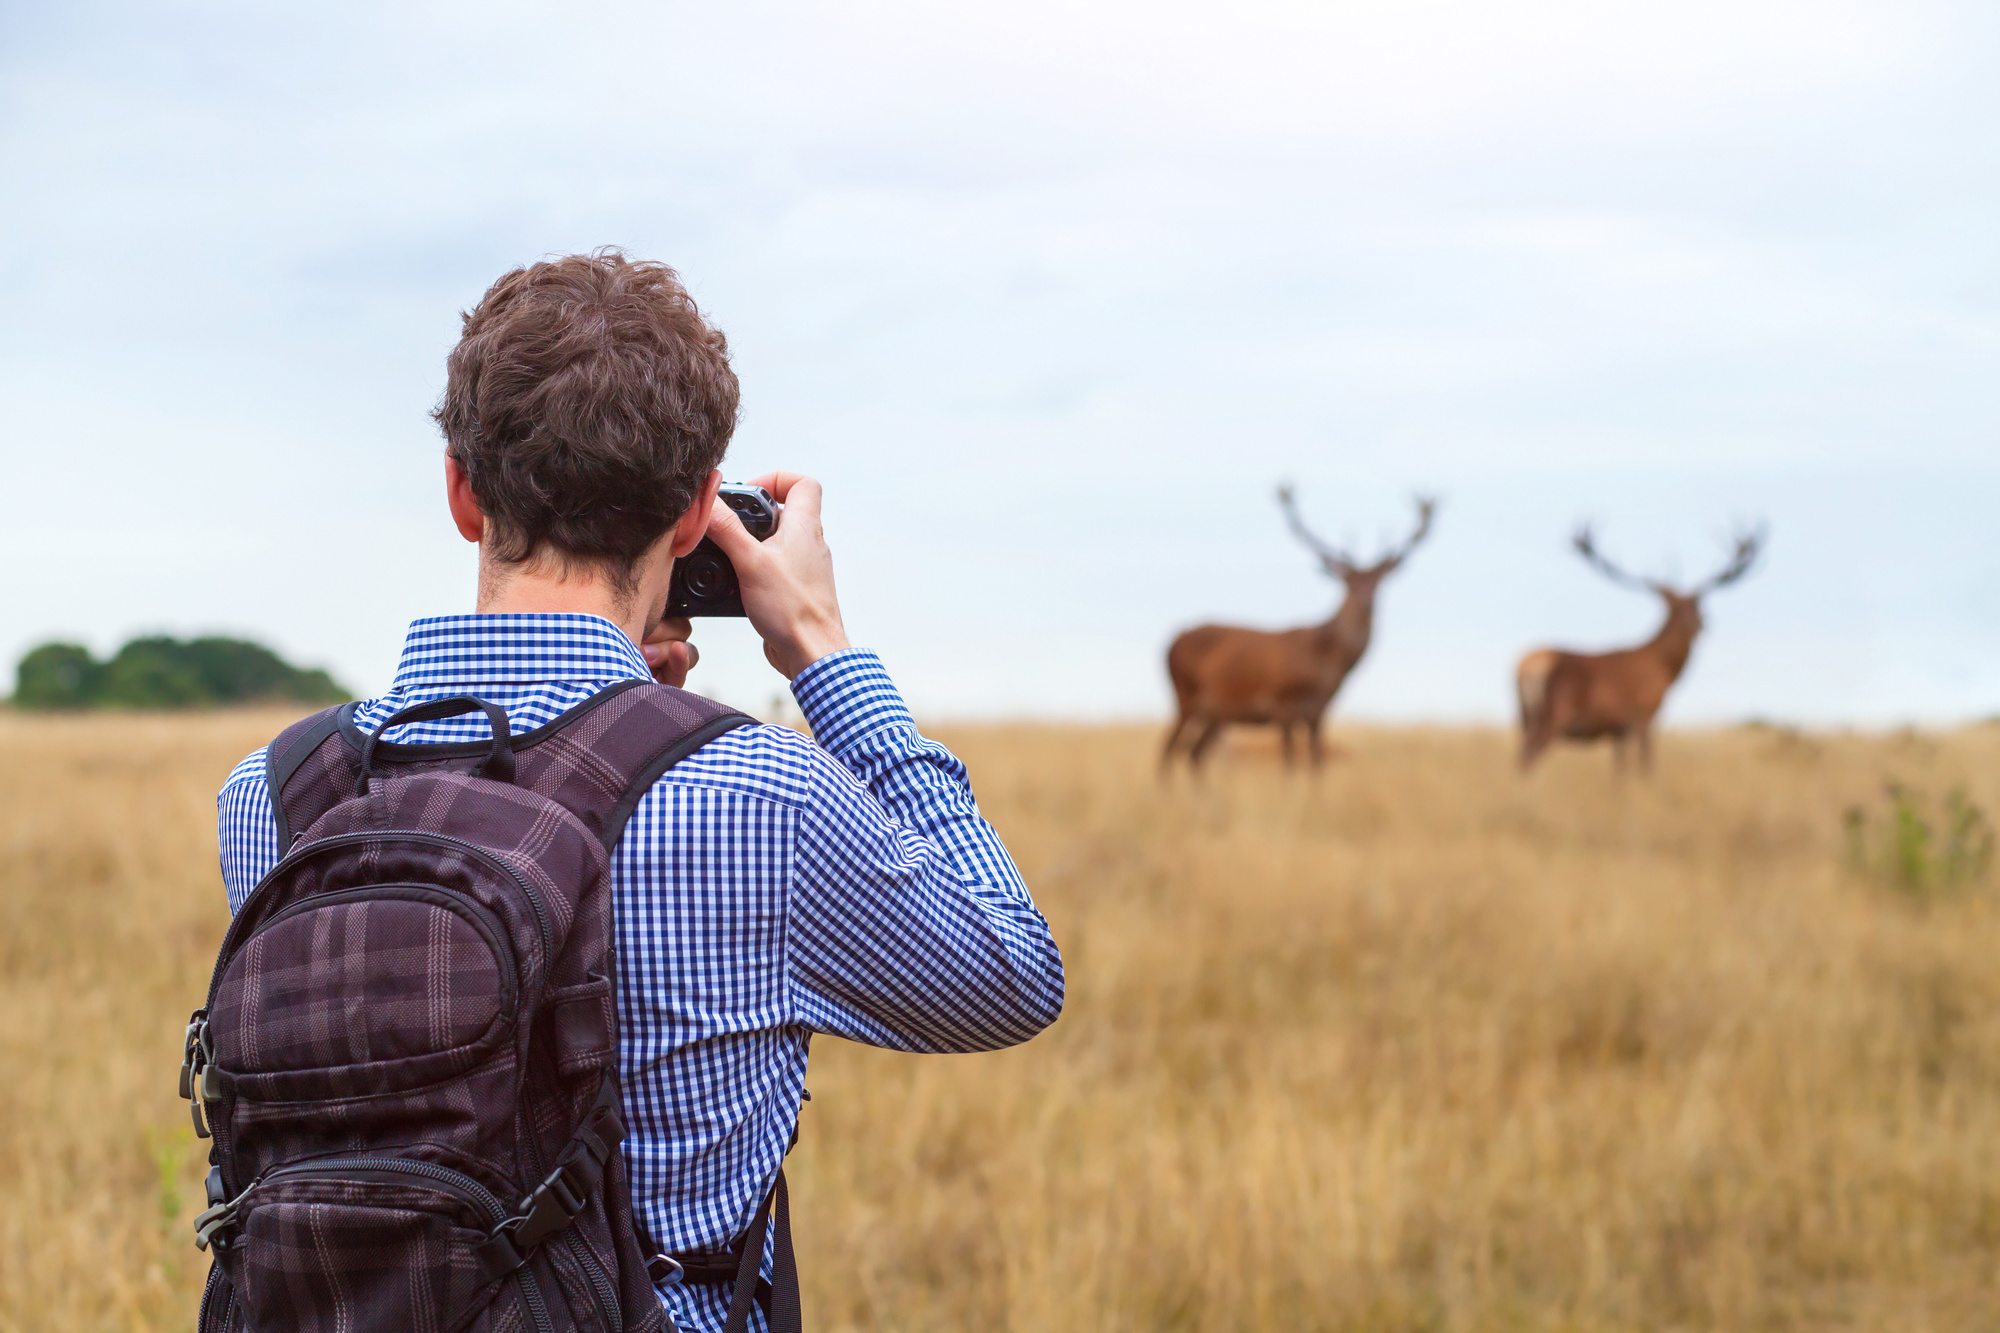
It’s the same with wildlife photography. Animals are unpredictable, and it’s very hard to get one sharp image, let alone up to nine.
Understanding Exposure Values
There are three ways to make an image light or dark. You can adjust the ISO, shutter speed, or aperture. If you adjust the ISO too high, you can create a grainy image.
The shutter speed impacts the movement of an image. For instance, a slow shutter speed shows motion like trees moving in the foreground. A fast shutter speed freezes an image in an instant, creating a sharp image.
Aperture is the amount of light that enters through the lens. This is expressed in f-stops. The higher the f-stop, the less light enters the camera and the darker the exposure.
A lower f-stop allows more light to enter the camera, so you have a brighter image.
Each setting affects the overall composition of the shot. Lower aperture settings create a blurry background, like the portrait setting of your smartphone camera.
A higher f-stop gives you a much sharper image in both the foreground and the background.
That’s what makes HDR photography so useful. HDR photography adjusts the exposure without adjusting your settings. You don’t have to compromise your composition to create the image that you want.
Check the Camera Settings
How do you get started with HDR photography? Start with your camera. Smartphone users can go into their camera app’s settings and turn HDR on or off.
If your smartphone doesn’t have an HDR option, download an app like True HDR or Bracketeer.
In DLSR photography equipment, you’ll set your camera settings to HDR mode. You’ll also set your camera to manual mode and adjust the ISO to the lowest setting possible.
Adjust the shutter speed and aperture to the settings you want for your image. Test a few shots to make sure you’re capturing the image.
Use a Tripod
A successful HDR image hinges on the ability to hold the camera still for a second or two. That seems like the easiest thing in the world, but it’s not with a camera in your hands.
You make small movements as you breathe and the camera picks up that movement. That’s called camera shake. It’s the reason why your photos might not be as sharp as they could be.
A tripod connected to a shutter release device reduces camera shake. Make sure you use one with HDR images.
Make Your Images Natural
Many photographers used HDR photography because it gave images an illustrated or fantasy look. The unfortunate part is that too many photographers went overboard with this.
Images of stunning sunsets didn’t look natural. It’s similar to shots of old buildings in a field.
Professional photography dictates that the technology should enhance the natural beauty of your images. The technology shouldn’t dominate the images and make them appear fake.
Keep this in mind as you experiment with HDR images.
The Best Tips to Learn HDR Photography
Out of all of the great technologies in professional photography, HDR continues to remain a favorite. That’s because it has the potential to draw out the finest details and colors of an image.
You don’t have to compromise your vision, but you do need to make sure the image looks natural. Be sure to use a tripod to make your image clean and crisp.
You’ll have Instagram-worthy photos in no time.
If you enjoyed learning about photography, head over to the Earn money section of this site to learn how to turn your hobby into cash.
